


Have you ever experienced an issue with your lawn mower starter? Keeping your lawn in excellent condition can be challenging but achievable with the right tools and advice. Testing a lawn mower starter with a multimeter is one way to ensure it's running correctly— In this blog post, we will learn how to quickly test a lawn mower starter using nothing more than a multimeter. Step-by-step instructions for testing your mower starter safely and effectively, so let's get started!
What is a Lawn Mower Starter?
A lawn mower starter is a necessary component of any lawn mower. It allows the engine to be started quickly and easily, so you can get your lawn care work done in no time. The starter consists of components that create an electrical circuit when activated by a switch. This causes an electric current to flow through the starter, which then turns over the engine, allowing it to start running.
This starter system is used on both walk-behind lawn mowers and riding lawn mowers. The starter is connected to the battery and works by converting electrical energy into mechanical motion to rotate the engine’s flywheel. On walk-behind lawn mowers, the starter is commonly mounted near the rear or side of the engine, while on riding lawn mowers, it is typically attached directly to the engine block near the flywheel and battery.
How To Test Lawn Mower Starter with Multimeter
Testing the starter on your lawn mower can be done with a multimeter. This is often necessary when troubleshooting common starting problems, such as an engine that will not crank or starts inconsistently. A multimeter measures current, voltage, and resistance, making it a practical tool for basic lawn mower starter troubleshooting and for determining whether the starter is functioning properly or may need to be replaced.
The following steps outline a safe, step-by-step method for testing your lawn mower starter using a multimeter.
Tools for testing and safety:
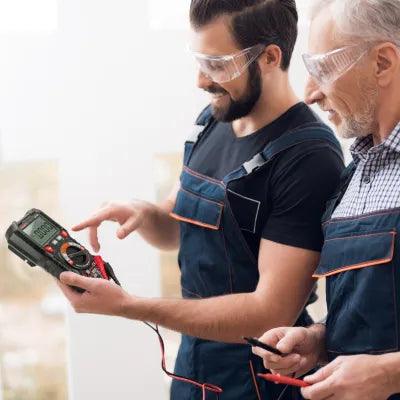
Before you start, make sure to have on hand the following Tools for testing and safety:
- Insulated gloves
- Goggles
- Multimeter
- Power supply battery
-
Wrench
Step 1: Fully Charge the Battery
Make sure your battery is fully charged. This will ensure that you get an accurate reading when testing the starter.
Step 2: Check Terminals
Once the battery is fully charged, disconnect it and check for any dust, dirt, or corrosion at the terminals. If you find any debris, clean it off with a cloth or brush.
Step 3: Remove the Lawn Starter
Use a wrench and screwdriver to remove the lawn starter from its housing.
Step 4: Connect Multimeter Device
Connect the starter to a 12V power supply. Connect the negative cable to the starter housing and the positive cable to the starter’s positive terminal. At the same time, connect your multimeter leads to the starter terminals to monitor the voltage.
Step 5: Turn on Power Supply
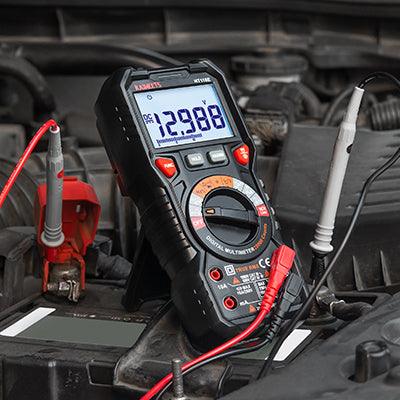
Turn on the power supply. The multimeter will display a value on its screen.
Step 6: Check 12 Volts Value
Check if the starter spins. If the multimeter shows 12V power is reaching the starter, and the gear spins rapidly, the starter is good. If you have 12V but the starter does not spin, it is defective and needs to be replaced.
Step 7: Double-Check Connections
Before proceeding further, double-check that all connections are securely fitted and that no wires have become loose or disconnected.
Step 8: Turn Off & Disconnect Battery
Once you have finished testing, turn off the power supply and disconnect the battery.
Step 9: Clean Terminals & Connectors
Clean any dust and debris from the terminals or connectors with a brush or cloth.
Step 10: Re-Install Starter
Finally, re-install the starter in its housing using your wrench and screwdriver before reconnecting the battery.
That's it! Now you know how to test your lawn mower starter with a multimeter. Following these simple steps is an easy way to ensure your mower performs efficiently and safely.
How To Test The Lawn Mower Battery
Testing the battery of your lawn mower is an essential step for maintaining it in good condition. Without a functional battery, you won't be able to start your lawnmower. To check if your battery needs charging or replacing, you can use a Kaiweets multimeter.
Preparing to Test the Battery:
Start by connecting both multimeters leads to the lawn mower battery terminals. Attach the red (Positive) lead to the battery's positive terminal, and connect the black (Negative) lead to its negative terminal.
Selecting Voltage Option:
Next, select the voltage option on your multimeter. When ready, connect it to the battery, and you will get a value displayed on the screen.
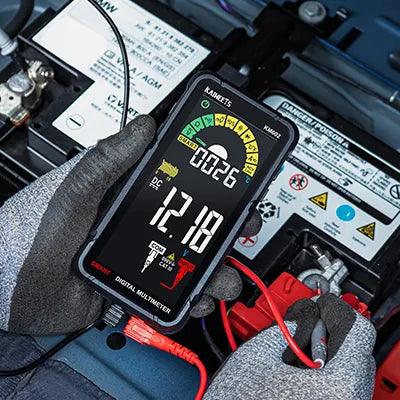
Checking The Value:
A full charge should show a value almost equivalent to 12V, while any lower reading indicates an issue with your battery and needs attention immediately.
Charging The Battery:
Try charging your battery fully if it displays a lower voltage value. Ensure the battery is fully charged before moving on to the next step.
Replacing The Battery:
If your battery fails to charge even after trying to charge it, it may need replacing. Consult a professional if you're unsure about this process.
Following these steps can help ensure your lawn mower's battery remains in good condition and ready for use!

Frequently Asked Questions:
What type of multimeter should I use to test a lawn mower starter?
A digital multimeter is best for this job, as it will be more accurate than an analog version. It should also have the capacity to measure voltage, resistance, and continuity to ensure you get the most out of your tests.
How do I check for continuity when testing a lawn mower starter with a multimeter?
Continuity testing involves connecting one end of the multimeter's leads to the negative terminal on the starter and the other to any exposed metal surface nearby, such as an engine mount or bolt head. The absence of continuity will indicate an open circuit somewhere in the starter.
How to tell if a riding lawn mower starter is bad?
You may suspect a bad starter if your riding lawn mower engine does not crank, cranks very slowly, or produces a clicking sound without starting. Even with a fully charged battery, these signs indicate that testing the starter is necessary to determine whether the starter itself is faulty or if the issue lies elsewhere in the starting system.
What should I do if continuity testing indicates an open circuit?
If the continuity test indicates an open circuit, the problem is likely with the starter or wire connections. To determine and fix this problem, disassemble the starting system and inspect it for damaged wires, rusted terminals, loose connections, etc.
What should I do if the starter doesn't turn over?
If you've already checked for continuity and found no open circuits, then an issue with the starter itself is likely to blame. Use a multimeter to test the voltage output from the battery to ensure it isn't depleted. If voltage is present but still no luck turning over the engine, it may be time to replace either the starter or its components.
What readings should I expect when testing a lawn mower starter with a multimeter?
You should expect a 12-14 volts reading when testing your lawn mower's starter. Anything significantly above or below this range could indicate issues with the starter or its connections.
Should I disconnect the battery when testing a lawn mower starter with a multimeter?
Yes, for safety reasons, you should always disconnect the battery before testing any components in your lawn mower's starting system. This will ensure that no unexpected power surges occur during tests.
Final Note:
Finally, using a multimeter to test a lawn mower starter is an excellent technique to diagnose the problem and determine whether the problem is with the starter or somewhere. Before you begin, disconnect your battery from the lawn mower's primary power source to protect you from electrical shocks. Check for any evidence of damage after attaching your meter to each of the wires coming to and from the starter. If all measurements remain within normal parameters, the starter and its associated wiring will most likely need to be replaced.
Select an exact replacement officially produced for your model lawn mower when replacing these components to ensure compatibility and peak performance. If the problem remains after replacing the starter, inspect the condition of your motor's flywheel and belts for signs of wear or damage.
By implementing these methods, you will have an efficient lawn mower in no time! When working with electrical components, always put safety first and read the manufacturer's instructions before trying any repairs.
Leave a comment
All comments are moderated before being published.
This site is protected by hCaptcha and the hCaptcha Privacy Policy and Terms of Service apply.