


A car amplifier problem can be frustrating because the amp itself is not always the part that failed. Sometimes the issue is only a blown fuse, a weak connection, or a wire that has come loose behind the install.
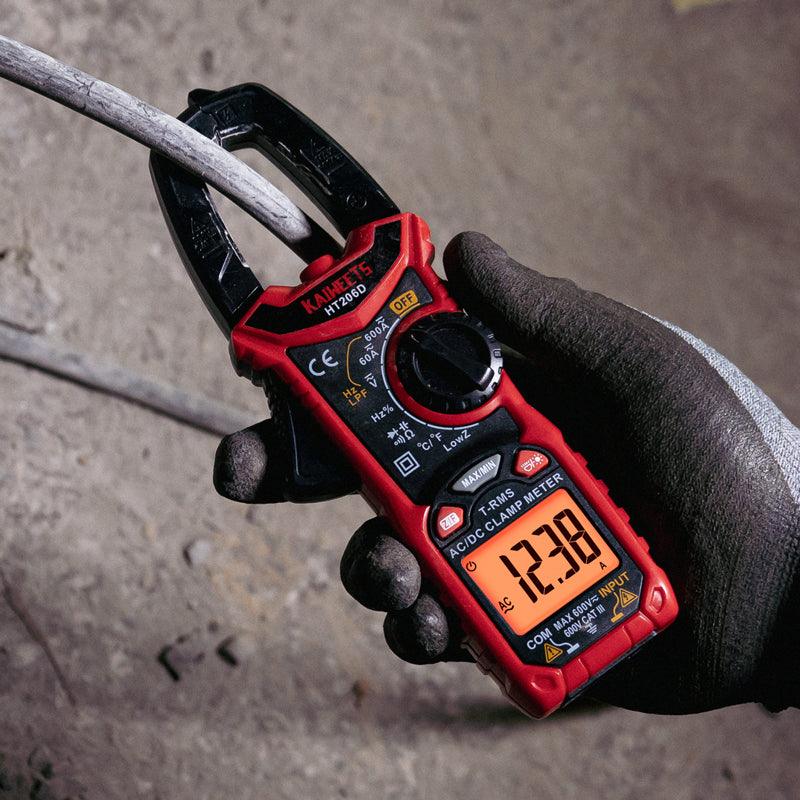
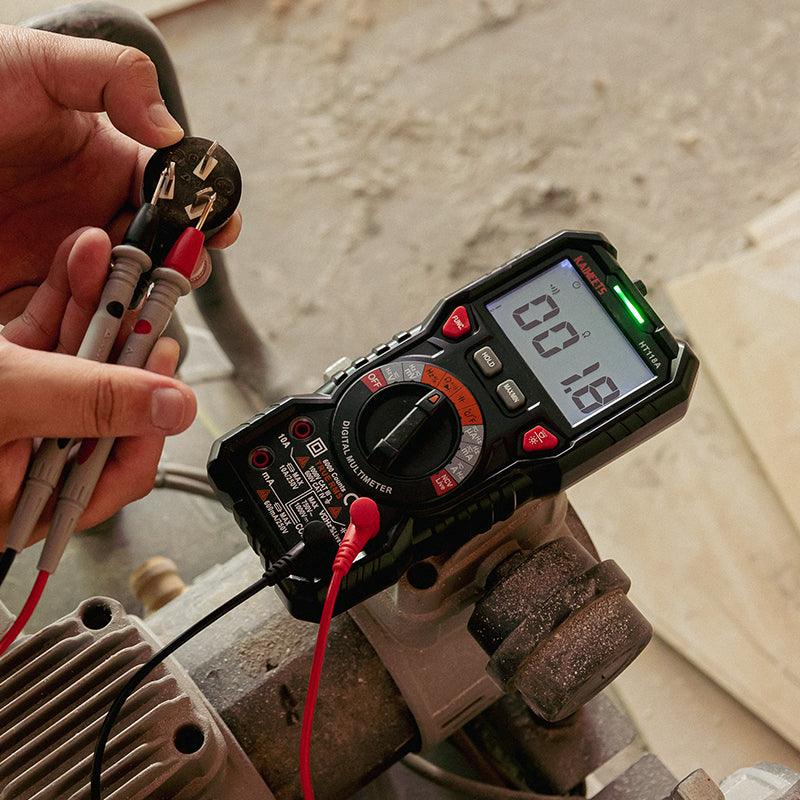
Before replacing the amplifier, you can use a digital multimeter to do a few basic checks. The goal is simple: find out whether the amp is getting power, turning on properly, and sending signal to the speakers.
This guide walks you through the main tests you can do at home with a multimeter.
Before You Start
Car audio systems usually run on 12V DC, but the power wire going to an amplifier can carry a lot of current. A small mistake can blow a fuse, damage wiring, or short the system.
Before you begin, turn the stereo off and keep the probe tips under control. Do not let the red probe touch the vehicle body, the amp case, or any other metal while it is touching a power terminal. If you need to remove or repair wiring, disconnect the negative battery terminal first.
You should also avoid one common mistake: do not put the multimeter in current mode and place it across the amplifier’s power and ground terminals. For the tests in this guide, you will mainly use DC voltage, continuity, resistance, and AC voltage modes.
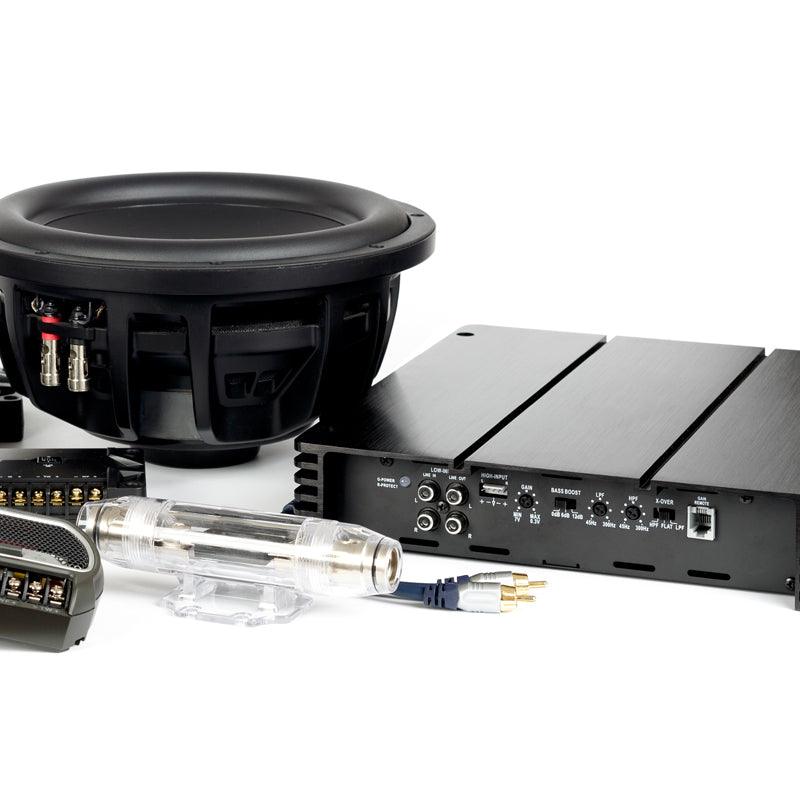
Know the Main Amplifier Terminals
Most car amplifiers use similar terminal labels.
The B+ or +12V terminal is the main power input from the battery. The GND terminal is the ground connection. The REM terminal is the remote turn-on wire from the head unit. Speaker output terminals send the amplified signal to the speakers or subwoofer.
If the labels on your amp are different, check the amplifier manual before testing.
Step 1: Inspect the Amp and Wiring First
Start with a visual check. This takes less than a minute and can save you from chasing the wrong problem.
Look at the power wire, ground wire, remote wire, speaker wires, and fuses. Make sure nothing is loose, burned, melted, corroded, or pulled halfway out of the terminal.
Pay special attention to the ground point. A good ground should be tight and connected to clean bare metal. If it is attached over paint, rust, or a weak screw, the amplifier may act like it is failing even when it is not.
If you find a loose wire or damaged connection, fix that first. Then test the system again.
Step 2: Check the Amplifier Fuse
A blown fuse is one of the easiest problems to check. Your system may have a fuse near the battery, a fuse on the amplifier, or both.
To test a fuse, turn off the system and remove the fuse from its holder. Set the multimeter to continuity mode. Touch one probe to each end of the fuse.
A good fuse should beep or show very low resistance. A blown fuse will usually show OL, 1, or no continuity.
This is where many beginners get confused. OL does not mean the amplifier is good. When you are testing a fuse, OL usually means the fuse is open and current cannot pass through it.
If the fuse is blown, replace it with the same type and same amp rating. Do not install a larger fuse to “solve” the problem. If the new fuse blows again, there is a reason, and that reason needs to be found before the system is used.
Step 3: Test the Main Power Terminal
If the fuse is good, check whether the amplifier is actually receiving battery voltage.
Set the multimeter to DC voltage. Place the black probe on the amplifier’s GND terminal. Place the red probe on the B+ or +12V terminal.
With the engine off, the reading should usually be close to battery voltage, often around 12V to 12.6V. With the engine running, it may be higher because the alternator is charging.
If you get 0V at the amplifier, the amp is not receiving power. In that case, work backward from the amplifier to the battery. Check the battery-side fuse, the fuse holder, the power cable, and the connection at the battery.
If the voltage is present but much lower than expected, the power wire or connection may not be able to supply the amp properly. A weak battery or poor connection can also cause this.
Step 4: Test the Remote Turn-On Wire
The main power wire can have 12V all the time, but the amplifier still needs a turn-on signal. That signal comes through the REM terminal.
Keep the multimeter in DC voltage mode. Turn on the head unit. Place the black probe on the amplifier’s GND terminal and the red probe on the REM terminal.
When the stereo is on, the REM terminal should usually show about 12V. When the stereo is off, it should drop back to 0V.
If the B+ terminal has power but the REM terminal stays at 0V, the amplifier may not turn on. The problem may be the remote wire, the head unit, or the way the system is connected.
If both B+ and REM have proper voltage, but the amplifier has no power light, the amp itself becomes more suspicious.
Step 5: Check the Ground Connection
A bad ground can create all kinds of strange symptoms. The amp may cut in and out, go into protect mode, make noise, or shut down when the volume goes up.
First, check the ground by sight and touch. The wire should be tight, short enough for the install, and attached to bare metal. If the contact point is painted or rusty, clean it and tighten the connection.
You can also do a voltage drop check.
Set the multimeter to DC voltage. Turn on the stereo and play music at a moderate volume. Place the red probe on the amplifier’s GND terminal. Place the black probe on the battery negative terminal or a known good chassis ground.
The reading should be very low. If you see a noticeable voltage reading, the ground path may have too much resistance.
This test is useful because it checks the ground while the amplifier is working. A connection may look fine with the system off but fail when current starts flowing.
Step 6: Check the Speaker Wiring
If the amp powers on but you still have no sound, turn the system off and check the speaker wiring.
Disconnect the speaker wires from the amplifier before measuring resistance. Set the multimeter to resistance mode and measure across each speaker wire pair.
A 4-ohm speaker may show a DC resistance slightly below 4 ohms. That is normal. Speaker impedance and DC resistance are related, but they are not exactly the same.
If the meter shows OL, the wire may be open, disconnected, or the speaker may be damaged. If the reading is almost 0 ohms, there may be a short.
This step is especially important if the amplifier goes into protect mode. A shorted speaker wire or a speaker load that is too low can make the amp shut itself down.
Step 7: Test the Amplifier Output
Once power, remote, ground, and speaker wiring look normal, you can check whether the amp is producing output.
For this test, use a steady test tone if possible. Music changes too much, so the reading will jump around.
Set the multimeter to AC voltage. Play a test tone through the stereo at a low to moderate volume. Place the probes across the amplifier’s speaker output terminals.
If the amplifier is receiving signal and producing output, you should see an AC voltage reading. The number will change as you adjust the volume.
If there is no AC voltage at the output, the amp may not be receiving input signal, the settings may be wrong, or the channel may have failed.
Do not short the speaker terminals with the probe tips. Also, do not measure amplifier speaker output against chassis ground unless the manual tells you to. In most cases, measure across the positive and negative speaker output terminals.
Step 8: Check the RCA Input Signal
If the amplifier has power but no output, the problem may be before the amp. The head unit or RCA cable may not be sending signal.
A multimeter can only do a basic check here. It will not show distortion or sound quality, but it can help confirm whether any signal is present.
Set the multimeter to AC voltage. Play a steady tone from the head unit. Carefully measure the RCA signal. The reading may be low and will depend on the head unit volume and output level.
If there is no signal at the RCA cable, the amplifier may not be the problem. Check the head unit settings, source, RCA cable, and any signal processor in the system.
What Your Readings Mean
This table is only a guide. Always compare your readings with the amplifier manual when possible.
| Test | Normal Result | What an Abnormal Result May Mean |
|---|---|---|
| Fuse continuity | Beep or very low resistance | Blown fuse |
| B+ to GND | Close to battery voltage | No power, bad fuse holder, weak connection, or damaged power wire |
| REM to GND | About 12V when stereo is on | Remote wire or head unit issue |
| Ground voltage drop | Very low voltage | Poor ground connection |
| Speaker wire resistance | Close to expected speaker load | Open wire, shorted wire, or speaker problem |
| Speaker output | AC voltage with test tone | No input signal, wrong settings, protect mode, or bad channel |
When Is the Amplifier Probably Bad?
You can start to suspect the amplifier after the basic wiring checks look normal.
For example, the amp has proper voltage at B+, the remote terminal has 12V when the stereo is on, the ground is clean, and the fuse is good, but the amp still will not turn on.
Another sign is protect mode. If the amp stays in protect mode even after the speaker wires and RCA cables are disconnected, the problem may be inside the amplifier.
Visible damage is also a warning sign. Burn marks, a strong electrical smell, melted terminals, or repeated fuse failure should be taken seriously.
At that point, it may be better to have the amplifier inspected or replaced instead of continuing to test blindly.
How do you repair the amplifier in your car?
If your car's amplifier has stopped working, there are a few things you can do to try and repair it. First, check to see if the amplifier fuse has blown. If it has, replaces it with a new one and see if that fixes the problem. If not, you may need to replace the amplifier itself. You can usually find replacement amplifiers at your local auto parts store or online.
Follow the instructions in your car's owner's manual to replace the amplifier. If you're still having trouble, take your car to a professional mechanic for help.
Frequently Asked Questions:
Can you test a car amplifier with a multimeter?
Yes. A multimeter can help you check the main power voltage, remote turn-on voltage, fuse continuity, ground connection, speaker wiring, and basic output signal. It will not fully test sound quality or every internal fault, but it is a good first tool for troubleshooting.
What setting should I use to test a car amplifier?
Use DC voltage mode for the power and remote terminals. Use continuity mode for fuses. Use resistance mode for speaker wiring when the system is powered off. Use AC voltage mode for a basic speaker output test.
What voltage should I see at the amplifier power terminal?
You should usually see a reading close to battery voltage. With the engine off, that is often around 12V to 12.6V. With the engine running, the reading may be higher.
Why does my amp have power but no sound?
If the amp has power but no sound, check the remote wire, RCA input, speaker wiring, gain setting, crossover setting, and protect mode. Power at the B+ terminal only tells you that the amp is receiving battery voltage. It does not prove that the amp is getting signal or producing output.
How do I know if my amplifier fuse is blown?
Remove the fuse and test it in continuity mode. A good fuse should beep or show very low resistance. A blown fuse usually shows OL, 1, or no continuity.
Does OL mean the amplifier is good?
No. OL usually means open loop when measuring resistance or continuity. If you see OL while testing a fuse, wire, or speaker circuit, it usually means the circuit is open.
Can a bad ground stop an amplifier from working?
Yes. A weak ground can stop the amp from turning on, cause protect mode, create noise, or make the amp shut down when the volume increases.
Can I test amplifier output with a multimeter?
Yes, but only as a basic check. Set the multimeter to AC voltage and measure across the speaker output terminals while playing a test tone. If the amp is producing output, you should see AC voltage. For detailed audio testing, you would need more advanced tools.
Leave a comment
All comments are moderated before being published.
This site is protected by hCaptcha and the hCaptcha Privacy Policy and Terms of Service apply.