


A multimeter is an essential diagnostic tool for identifying motherboard failures. Testing voltage and continuity allows you to pinpoint the exact source of a malfunction. However, handling sensitive circuitry requires precision and proper safety protocols to prevent accidental damage. Learning how to use a multimeter correctly is a vital first step before attempting these diagnostics. This step-by-step guide will walk you through the professional methods for testing a motherboard to ensure it remains in peak operating condition.
How to Tell if Your Motherboard is in Good Condition?
To ensure your computer runs smoothly and avoid potential damage, it’s important to regularly check the condition of your motherboard. There are several key indicators to help you determine if it’s in good shape.
Throughout this process, ensure you are wearing an anti-static wrist strap or are properly grounded to prevent Electrostatic Discharge (ESD) from damaging sensitive microchips.
1. Check for Physical Damage
The first thing to look for is any physical damage, such as cracks, scratches, or signs of wear and tear. These can indicate that the motherboard is compromised. Also, inspect for any loose components or connectors. If something appears out of place, it may suggest that your motherboard is failing or needs replacement.
2. Look for Corrosion and Inspect Capacitors
Corrosion, especially on older motherboards, can cause serious issues if left unchecked. Pay special attention to the area around the capacitors, connectors, and any metal contacts. Corrosion can degrade performance and lead to electrical failures. Similarly, inspect capacitors for any signs of damage, such as bulging, leaking, or discoloration. Damaged capacitors should be replaced immediately, as they are crucial for stable power distribution.
3. Ensure Connections Are Secure
Loose connectors or cables can cause system instability. Make sure that all connections on the motherboard, including power connectors and data cables, are tightly secured. This includes the 24-pin and 4/8-pin ATX power connectors. Loose or improperly seated connections could lead to power delivery problems, causing crashes or failure to start. It's also important to check for correctly placed jumpers, particularly those for power or reset buttons, to prevent shorts or operational issues.
4. Check Temperature and Cooling
Overheating is a common problem that can damage your motherboard. Ensure that the cooling system—fans, heat sinks, and thermal paste—is functioning properly. Use temperature monitoring software to check the motherboard’s temperature, or physically feel for hot spots. Overheating can cause significant damage, so it’s essential to address any cooling issues promptly.
5. Inspect the CMOS Battery
The CMOS (Complementary Metal-Oxide-Semiconductor) battery stores BIOS settings, including system time and date. If your computer is losing time or resetting BIOS settings, it might indicate a failing battery. The CMOS battery is typically a CR2032 coin cell. If necessary, replace the battery to restore proper functionality.
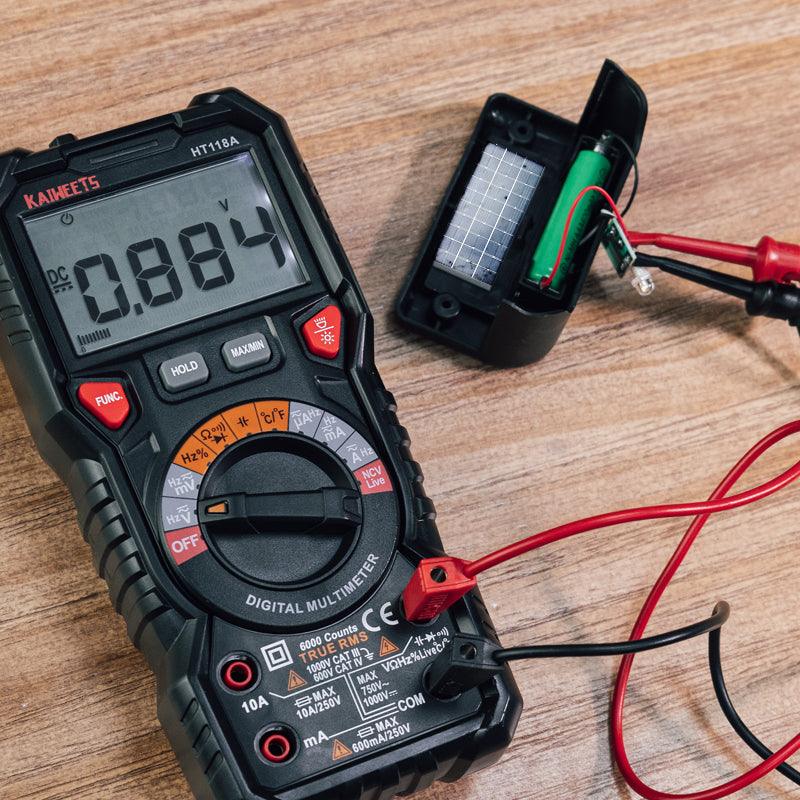
How to Test the CMOS Battery for Boot Failures
One of the most frequent "soft failures" in a motherboard is a depleted CMOS battery (the CR2032 coin cell). When this battery dies, the BIOS loses its settings, often preventing the computer from booting or causing it to lose the system time.
To test it, set your multimeter to the DC voltage setting (usually 20V). Touch the red probe to the top of the battery and the black probe to the side or a metal ground. A healthy battery should read at least 3.0V. If the reading is below 2.8V, replace the battery before proceeding with more complex hardware diagnostics.
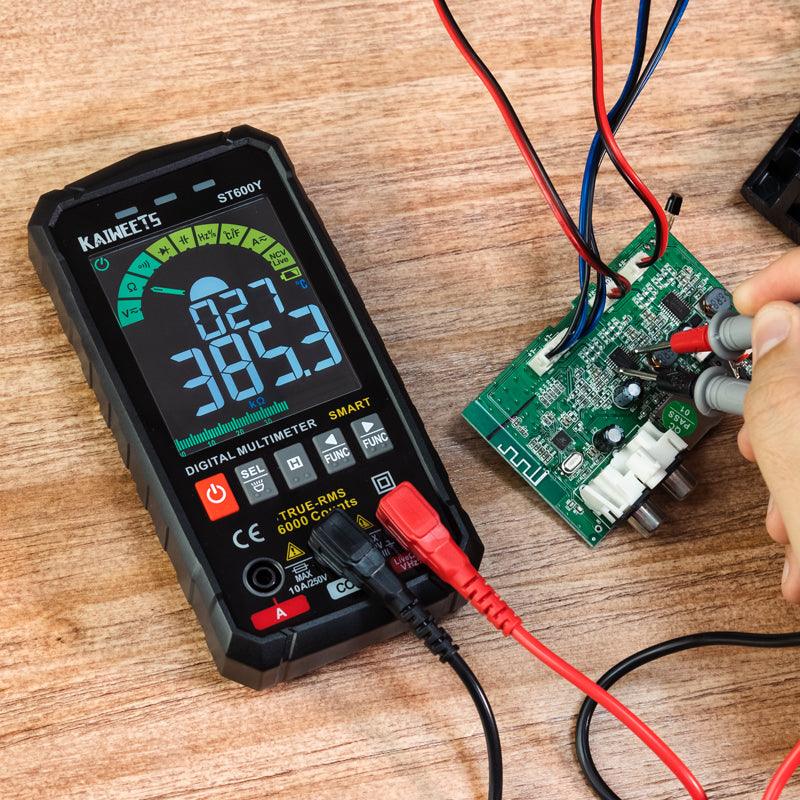
How to Test the Voltage of Your Motherboard?
If your computer crashes randomly or fails to start, improper voltage delivery may be the cause. Unlike physical inspections, voltage testing must be conducted while the system is connected to power. Locate the 24-pin ATX power connector, typically found near the right edge of the board. With the power on, carefully "back-probe" the connector by touching the red lead to the colored wires and the black lead to a black ground wire.
A functional power supply should provide voltages within a 5% tolerance range to be considered stable:
- +12V (Yellow wires): Should read between 11.4V and 12.6V.
- +5V (Red wires): Should read between 4.75V and 5.25V.
- +3.3V (Orange wires): Should read between 3.14V and 3.47V.
If any reading falls outside these ranges, the issue likely lies with your Power Supply Unit (PSU) rather than the motherboard itself.
How to Test the Capacitors on Your Motherboard?
Capacitors are responsible for stabilizing electrical energy, and their failure can lead to system instability. While a visual check for bulging is the first step, a multimeter can help identify internal failures. However, "in-circuit" testing—testing while the component is still soldered to the board—can be influenced by surrounding circuitry.
Set your multimeter to the resistance (Ohms) setting and touch the probes to the capacitor's leads. A healthy capacitor should show a rising resistance as it charges from the multimeter's battery.
If the reading remains at zero, the capacitor is shorted;
If it shows "infinite" immediately, it may be open.
Note that a standard multimeter cannot measure Equivalent Series Resistance (ESR), which is the most accurate indicator of a capacitor's health. If a capacitor is physically leaking or bulging, it must be replaced regardless of the reading.
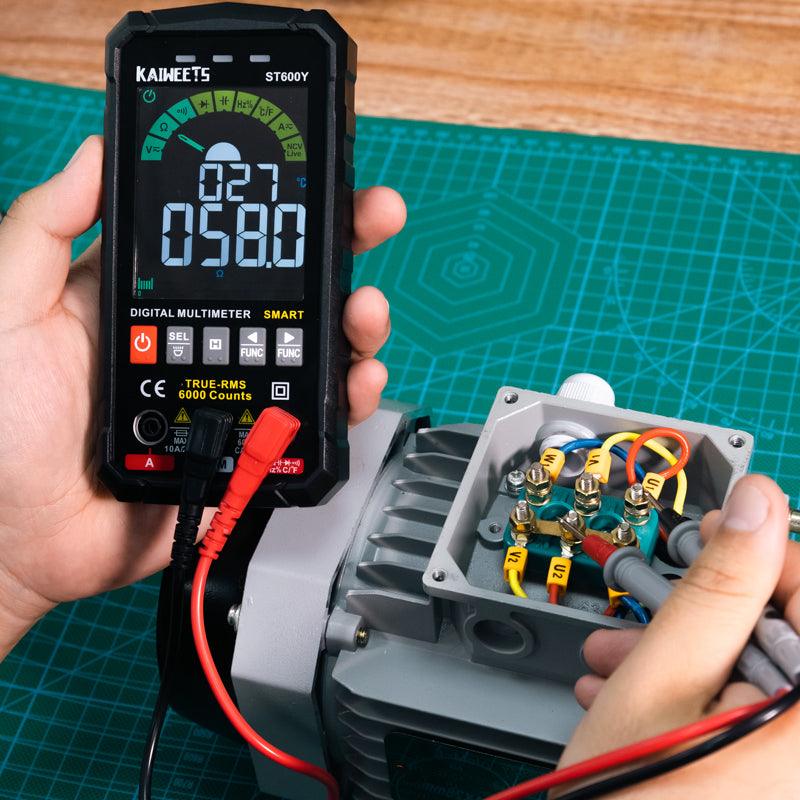
How to Test Motherboard for Short Circuits?
Before reaching for your multimeter, identify the common symptoms of an electrical short. A motherboard short often triggers the Power Supply Unit’s (PSU) internal protection circuits, leading to a "one-second start"—where fans spin momentarily and then the system immediately loses power. Other red flags include a persistent acrid, burnt odor, visible charring on the PCB, or a computer that remains completely unresponsive despite a functional power source.
To diagnose a short, the motherboard must be completely powered down and unplugged. A short occurs when electricity finds an unintended, low-resistance path to the ground. Set your multimeter to the Continuity (Beeper) mode. Touch one probe to a known ground point, such as the metal casing of a USB port or a ground pin on the 24-pin connector. Then, touch the other probe to the power rail or the component you suspect is faulty.
If the multimeter emits a continuous beep or shows a resistance reading near 0 ohms, a short circuit is present. Professional technicians frequently check the 12V CPU power pins (the 4-pin or 8-pin EPS connector) near the processor socket; a beep here often indicates a blown MOSFET in the Voltage Regulator Module (VRM). If a short is detected, seek professional repair, as resolving it usually requires specialized micro-soldering equipment.

Frequently Asked Questions:
What is the typical average lifespan of a motherboard?
While some industrial boards can last decades, the practical lifespan for a consumer motherboard is typically three to seven years. Over time, electrolytic fluid in capacitors dries out and high-performance components degrade due to heat cycles. Regular cleaning and maintaining low operating temperatures can help extend this window.
Is it possible to repair a motherboard?
The feasibility of repair depends on the damage. Minor issues like a dead CMOS battery or a single blown capacitor are relatively easy to fix. However, damage to the multi-layered PCB or the CPU socket is often terminal. Due to the complexity of modern circuitry, professional help is recommended for any task involving precision soldering.

Final Maintenance Tips for Motherboard Longevity
Testing a motherboard with a multimeter is a powerful way to identify specific hardware failures. To minimize the need for such diagnostics, perform regular maintenance by keeping the chassis free of dust, ensuring all cooling fans are operational, and using a high-quality surge protector.
If your tests reveal a voltage instability or a short circuit that you are uncomfortable repairing, consult a professional technician. With consistent care and periodic inspections, you can significantly extend the operational life of your hardware and prevent minor electrical issues from becoming catastrophic failures.
Leave a comment
All comments are moderated before being published.
This site is protected by hCaptcha and the hCaptcha Privacy Policy and Terms of Service apply.