


Do you know how to test a magneto coil with a multimeter? In this blog post, we will show you how to do it. This is an important skill to have if you are working on a motorcycle or other vehicle that has a magneto ignition system. Testing the coil can help you diagnose problems and make necessary repairs. Let's get started!
What is Magneto Coil?
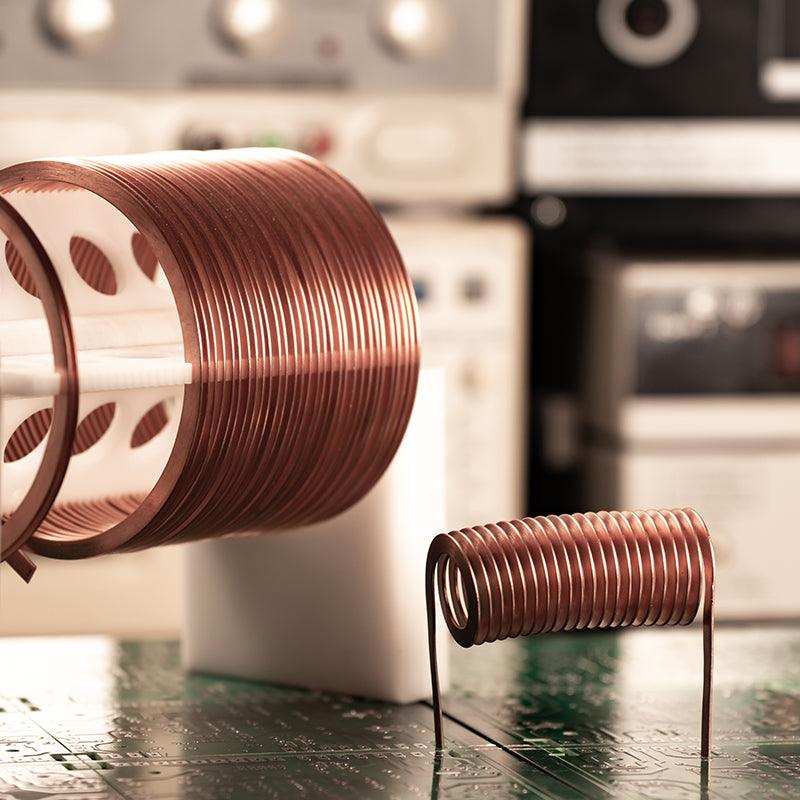
A magneto is an electromechanical device used in a variety of applications, most notably in vehicle and lawnmower engines. Magneto coils consist of three main components: a coil of insulated wire wound around a metal core, a permanent magnet, and an electrical connection to the spark plug or other device being powered. When current passes through the magneto coil, it generates an electromagnetic field that produces sparks used to ignite the fuel/air mixture in the engine cylinder. In some applications, such as older vehicles or lawnmowers with no electronic ignition system, the magneto is responsible for generating all sparks necessary for combustion.
Magnetos are also commonly used in generators and alternators to produce alternating current (AC) power. The magneto coil is connected to two poles, one of which is the magnetic field and one of which carries the current. This creates a rotating magnetic field that generates AC power as it spins.
Overall, magneto coils are essential components in any vehicle or lawnmower engine, providing the necessary sparks for combustion. They may also be used in other applications such as generators and alternators to generate electrical power. Knowing how to properly maintain your magneto coil can ensure that your engine runs smoothly and efficiently for years to come.
Magneto coil consists of three main components:
Magneto coil consists of three main components:
1. Armature:
The armature is a metal disc that rotates inside the magneto coil and increases the speed of the flywheel. It is usually made from copper or aluminum and can be either circular or rectangular in shape.
2. Flywheel:
The flywheel is connected to the armature, which turns it at high speeds. This generates electricity for use in applications such as generators and motors. It typically consists of a heavy metal wheel with several teeth along its circumference.
3. Electric control unit:
This component provides the power needed to turn the magneto coil on and off, as well as regulate its speed and power output levels. It also monitors temperature changes and other factors to ensure the proper operation of the device. The electric control unit is generally powered by a direct current (DC) power source, such as a battery or solar panel.
By combining these three components, the magneto coil is able to generate electricity efficiently and with little maintenance. It is an ideal choice for applications where reliability and efficiency are essential. With its robust design and ability to operate in harsh environments, the magneto coil can provide reliable energy generation for a variety of needs.
The Magneto Coil offers many benefits including cost savings from not having to buy batteries; increased safety due to its enclosed construction; improved durability over time due to its metal housing; and fewer maintenance requirements than other energy sources such as generators and fuel cells. Additionally, it is relatively inexpensive compared to other forms of energy generation, making it an attractive alternative for many applications.
Overall, the magneto coil is a reliable and cost-effective choice for generating electricity in a variety of environments and applications. With its efficient design and easy maintenance, it is sure to be an invaluable asset for any power-generating needs.
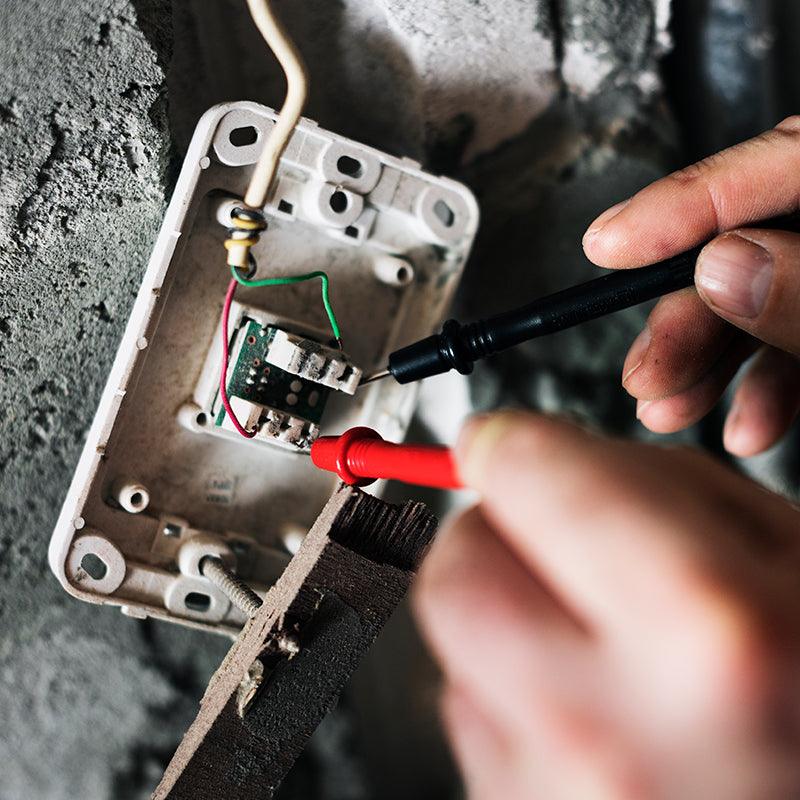
How To Test A Magneto Coil With A Multimeter?
- Make sure that your multimeter is set to the Ohms setting. This will allow you to measure the resistance of the magneto coil.
- Connect one of the multimeters leads to one end of the magneto coil and connect the other lead to the other end of the coil.
- You should see a reading on your multimeter display that indicates how many ohms (Ω) are present in the magneto coil circuit. This is known as its “resistance” value.
- If you get a zero or negative reading, then there could be an opening in one or both ends of the magneto coil, indicating a possible malfunction and therefore requiring replacement/repair of the magneto coil.
- If you get a reading of between 0.4-1 ohms, this indicates that the magneto coil is working correctly and no further action is required.
- If you get a higher reading than 1 ohm, then it could indicate either an open in the circuit or a short in one or more of its windings, hence requiring replacement/repair of the magneto coil.
- Once you have obtained your readings, be sure to disconnect the multimeter leads from both ends of the magneto coil before moving on to another test procedure!

Testing the Spark Plug:
- Start by disconnecting the spark plug wire from the spark plug itself.
- Then, set your multimeter to the Ohms setting and make sure it is set at a high range (between 1000-10,000 ohms).
- Take one of the multimeter’s probes and connect it to the center electrode on top of the spark plug while taking the other probe and connecting it to the metal threaded part of the spark plug that screws into your engine.
- You should get a reading that falls within an acceptable range for resistance between both points if there are no gaps in insulation or wiring issues (the ideal range is typically between 4000 and 6000 ohms). If you receive a reading that falls outside of this range, it is a sign that the spark plug might be defective and should be replaced.
- When you’re finished, remember to reconnect the spark plug wire and reattach the spark plug into its slot in the engine.
- Lastly, you can check if your testing was successful by starting up the engine again – if it starts without any issues then your testing has been successful! If not, further maintenance will need to be done on your vehicle's spark plugs.
Please note that this procedure may differ depending on which model of vehicle you have, so please consult with a professional mechanic before attempting any repairs or modifications with regard to your car's spark plugs. Additionally, make sure to use the correct tools and safety precautions before starting any repairs.
Testing Secondary coil resistance:
- Start by disconnecting the secondary wiring from the magneto coil.
- Locate the two terminals of your secondary coil and make sure that they are not touching each other or any other part of the circuit.
- To measure resistance, use a multimeter set to “ohms” mode and touch one end of the meter’s probes to each terminal on the secondary coil. Make sure that both probes have firm contact with each terminal in order to ensure an accurate reading.
- The multimeter should display a value between 0-20 ohms (ohms being a unit used to measure electrical resistance). It is recommended that you record this reading for future reference purposes.
- If the resistance measured is outside of this range then it could be an indication of a fault within the magneto coil. In such cases, you should consider replacing the magneto coil before attempting to start your engine with it.
By following these steps you can quickly and easily test the secondary coil resistance on your Magneto Coil, allowing you to identify any possible issues and take action accordingly. This is an important step in maintaining your Magneto Coil and ensuring its optimal performance.
Frequently Asked Questions:
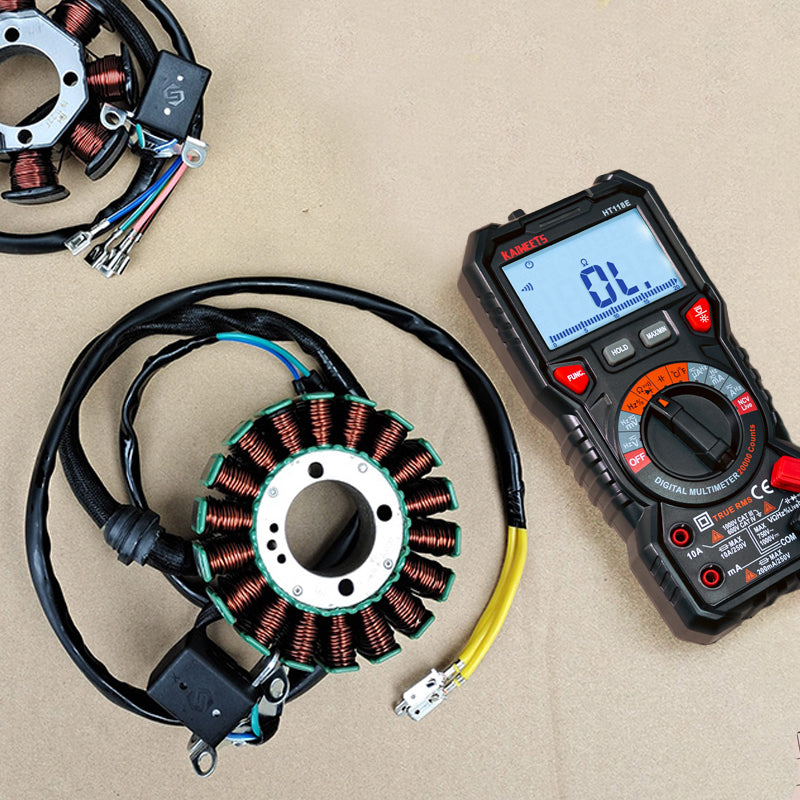
What type of multimeter should I use to test a magneto coil?
You should use KAIWEETS Digital multimeter for testing magneto coils. This multimeter is capable of measuring AC and DC voltage and current, resistance, capacitance, and transistors. It also features a back-lit LCD display for easy readings even in low light conditions.
What if the Coil does not Pass the Resistance Test?
A: If the resistance of your magneto coil falls outside of its normal range, then it should be replaced immediately. This can often indicate that there is an internal break or shortage in the component, which will cause it to fail prematurely if not addressed promptly. Always be sure to use genuine replacement parts when replacing any electrical components.
What Safety Considerations Should I Be Aware Of When Testing My Magneto Coil?
A: As with any electrical work, safety should always be your top priority when testing a coil. Before beginning, make sure that all power sources are turned off, and wear protective gloves and eyewear. Do not touch any exposed wires or terminals while the multimeter is connected to the magneto coil as this could result in an electrical shock or injury. Also, never try to force a connection between the multimeter leads and the terminals of your coil as this can damage components or cause further issues with your system. Finally, always consult your owner's manual before attempting any repairs yourself.
Final Note:
Testing a magneto coil with a multimeter is an important step in ensuring the proper functioning of your engine or another motorized device. Knowing how to test a magneto coil can help you save time and money when dealing with problems related to faulty or defective parts, as well as provide peace of mind. This guide has provided the necessary steps and information required to successfully test your magneto coil using a multimeter. If you have any additional questions or concerns regarding this process, please consult a qualified professional for assistance. With the right tools at hand and some basic knowledge, testing a magneto coil should be relatively straightforward and can be completed quickly for diagnostic purposes. Regardless of your experience level, it’s always better to be safe than sorry when it comes to electrical troubleshooting.

Commenta
Nota che i commenti devono essere approvati prima di essere pubblicati.
Questo sito è protetto da hCaptcha e applica le Norme sulla privacy e i Termini di servizio di hCaptcha.