A laser level is a great tool to have when you're marking a ceiling. It makes the job much easier and neater than if you were to try and do it freehand. In this post, we'll explain how to use a laser level to mark a ceiling. We'll also provide some tips on how to get the most accurate marks possible. Let's get started!
How to Get the Most Accurate Laser Level to Measure a Ceiling?
Accuracy is paramount when it comes to measuring a ceiling with a laser level. To ensure you get the most accurate results possible, there are several steps you should take.
- Choose the right type of laser level for your needs: Different types of laser levels have different accuracy ratings and specifications. Before buying, do your research and choose a model that has the accuracy you need for your project.
- Use a solid, level surface as your starting point: To get an accurate reading, you'll want to make sure that the base of your laser level is set up on a stable, level surface. Doing so will ensure that the measurements taken with your laser level are accurate and consistent throughout the entire process.
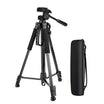
- Set up Tripods or Stands: Even when working on flat surfaces, it's important to use tripods or stands to make sure the laser level remains in place while in use. This way you can be sure that any readings taken will be based on an even and stable surface.
- Make sure all batteries are charged and working: If you're using a battery-operated laser level, make sure all of the batteries are fully charged and in good working condition. This will ensure that any readings taken with the device will be accurate.
- Check for obstructions: Before taking any measurements, take a look around your workspace to make sure there aren't any objects blocking the laser beam. These can cause inaccurate readings, so it's important to eliminate them beforehand.
By following these steps you'll be able to get the most accurate results possible when using a laser level to measure your ceiling or other surfaces. With careful planning and setup, you'll be able to get reliable and precise measurements every time!
Step-by-Step Guide - How To Use Laser Level For Marking Ceilings
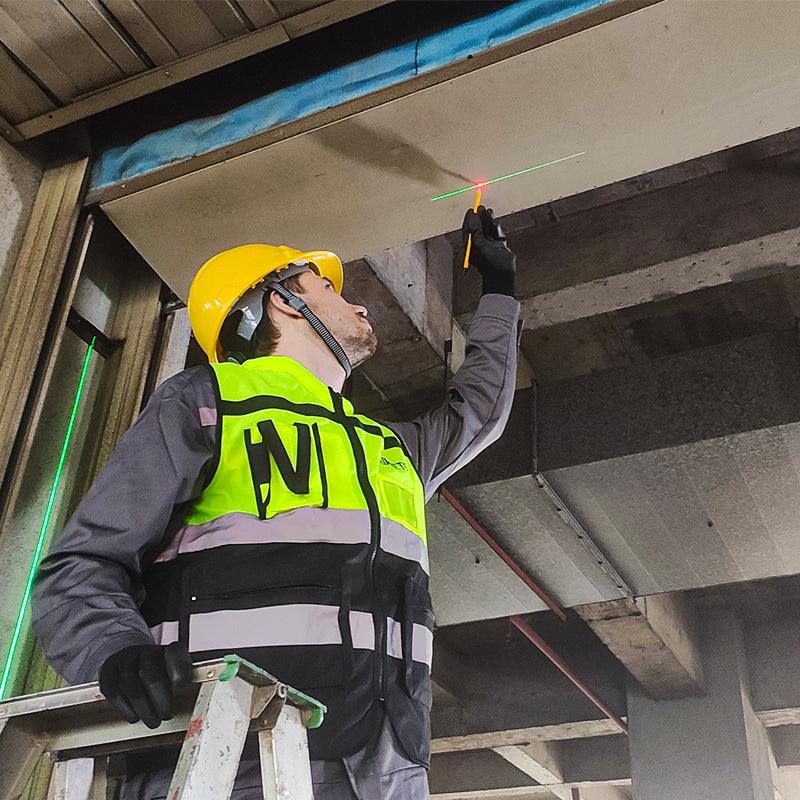
Laser Level for marking ceilings is a great tool for ensuring even coverage of your ceiling. With the right setup, it can help you measure and mark surfaces with precision and accuracy.
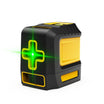
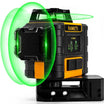
we will use a cross-line laser level for this purpose.
Here is a step-by-step guide using laser level for marking ceilings:
- First, be sure that the laser level is securely mounted to a stable surface and leveled properly according to the manufacturer’s instructions.
- Position the laser level so that the cross-line intersects the points where you want to mark the ceiling. Make sure that you can see it clearly from your workstation or ladder.
- Place painter’s tape at both ends of the line and make sure it is straight and secure against the ceiling surface with no gaps between it and the wall/ceiling junction.
- Use a pencil or marker to trace along one side of the painter’s tape, following its edge precisely as far as you need to go. Then remove the tape and trace along the other side of the line.
- Finally, use a ruler to check for accuracy to ensure that your lines are even from one end to the other.
Be sure to take proper safety measures when using laser level for marking ceilings as it can be dangerous if not handled properly. Always wear protective eye gear and follow the manufacturer’s instructions closely when carrying out this task. With careful planning and patience, you should have no problem getting perfect results in no time!
Common mistakes people make when using a laser level for marking ceilings:
- Not accounting for ceiling height:
The laser level needs to be placed at the same height as the ceiling surface. If it is positioned too low, your measurements will not be accurate.
- Using incorrect settings:
Make sure you are using the correct settings on your laser level to ensure accuracy. For example, if you need vertical lines, make sure the beam is set to the perpendicular angle and use a plumb bob to double-check this setting before starting work.
- Incorrectly positioning reference points:
Your reference points should always be referenced from one another to get an accurate measurement and layout of the lines on your ceiling surface. When measuring from the floor to the ceiling, make sure all reference points (e.g. the wall and floor) are aligned with each other to get the most accurate reading possible.
- Not accounting for obstructions:
Before starting work, make sure you have accounted for any obstructions that may interfere with your line of sight or accuracy when marking out your ceiling lines (e.g. furniture). Moving these items out of the way before beginning work can help to save time and ensure accuracy.
- Failing to double-check measurements:
It's important to always double-check your measurements before setting up the laser level so you don't waste time setting it up incorrectly or having inaccurate results. Using a measuring tape is an easy way to do this and will ensure accuracy when setting up the laser level
By following these tips, you can avoid making common mistakes when using a laser level for marking ceilings and ensure accuracy in your measurements. With practice and patience, you'll soon be an expert at using this handy tool!
Frequently Asked Questions:
What is the purpose of a laser level for marking ceilings?
A laser level for marking ceilings is used to draw lines and make marks on a ceiling surface. It can be used to align objects, such as tiles or panels, to ensure accurate installation. Laser levels help reduce errors and save time by providing an exact reference point from which measurements can be taken.
How does a laser level for marking ceilings work?
A laser level for marking ceilings uses a laser beam projected onto the ceiling surface. The beam can be adjusted so that it points at any angle needed and will stay in place until it is moved again. The line created by the beam allows users to accurately measure and draw straight lines.
What are the advantages of using a laser level for marking ceilings?
There are several advantages to using a laser level for marking ceilings, including accuracy, speed, and convenience. By having an exact reference point from which measurements can be taken, errors can be minimized and installation time reduced. Additionally, laser levels are easy to use and can be moved around quickly if needed.
Are there any safety precautions to consider when using a laser level for marking ceilings?
When working with a laser level for marking ceilings, it is important to take basic safety precautions such as wearing protective eyewear. Additionally, the beam should never be pointed directly at someone’s face or eyes, as it can cause permanent damage. Lastly, the laser level should be stored in a secure location when not in use.
Conclusion:
Using a laser level as demonstrated in this article is an easy and accurate way to mark a ceiling. This method will help you ensure that your measurements are precise, allowing for a more professional finish. Furthermore, the use of a laser level reduces the time it takes to work on the project, making it even more efficient and cost-effective. With the right tools and knowledge, any homeowner or contractor can take on their ceiling projects with confidence. For more information, please click KAIWEETS.


















Leave a comment
All comments are moderated before being published.
This site is protected by hCaptcha and the hCaptcha Privacy Policy and Terms of Service apply.