


If you're preparing for a patio, driveway, shed foundation, or lawn grading project, getting the ground perfectly level is critical. Even small elevation differences can lead to drainage problems, unstable foundations, or uneven surfaces.
In this guide, we’ll show you exactly how to level ground with a laser level step by step, including setup, measuring elevation changes, and correcting high and low spots.
Step-by-Step Guide: Leveling Ground with a Laser Level
Step 1: Set Up the Laser Level on Stable Ground
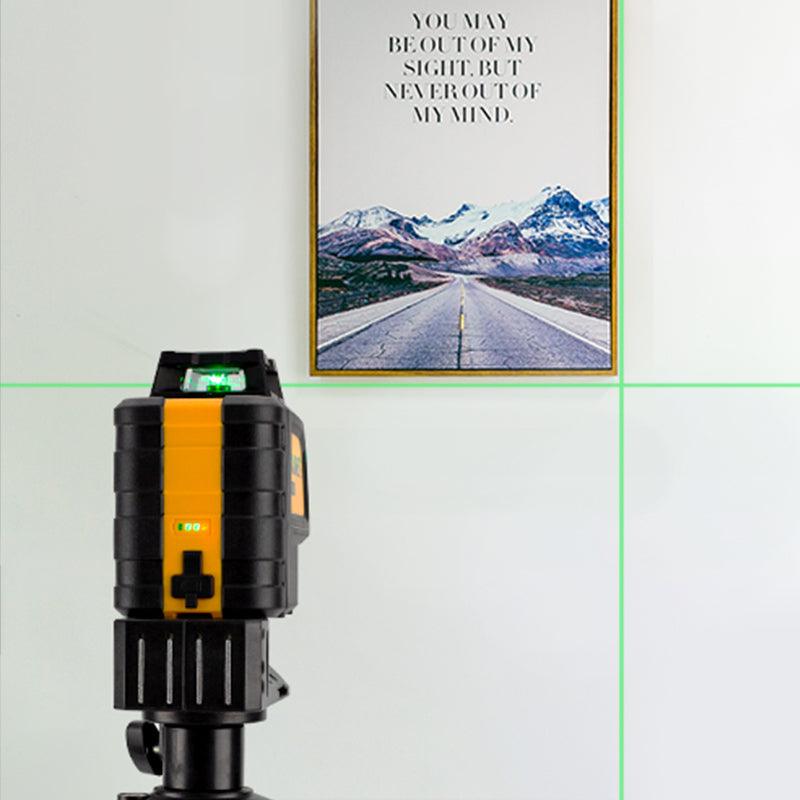
Mount the laser level securely on a sturdy tripod positioned where it won’t be disturbed by foot or vehicle traffic. Make sure the tripod legs are firmly planted and all locking knobs are tightened to prevent movement during measurement.
Step 2: Level the Unit and Establish a Reference Point
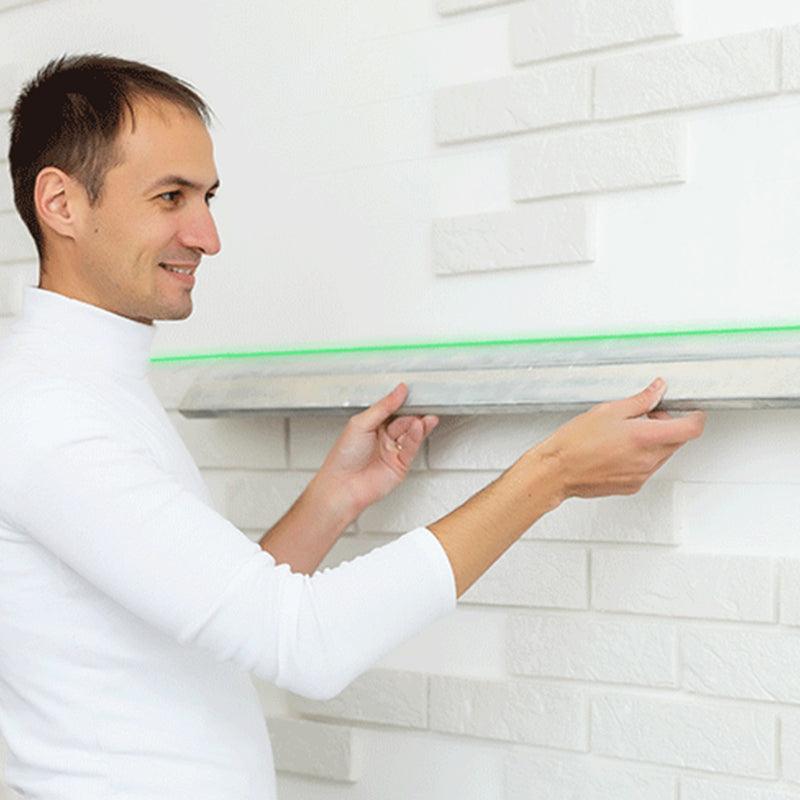
Use the built-in bubble vial (or allow the self-leveling function to calibrate automatically) to ensure the laser is perfectly level.
Before measuring the entire area, choose a reference point — typically the highest point of the ground or the desired finished grade. Measure from the laser beam to the ground at this point and record the height. This will serve as your baseline for comparison.
Step 3: Measure Elevation Differences Across the Area
Keep the laser level fixed and use a grade rod or measuring tape to check the distance from the laser beam to the ground at multiple points.
If the distance is greater than your reference measurement, that area is lower and needs filling. If it’s shorter, the area is higher and requires soil removal. Record all measurements before making adjustments.
Step 4: Adjust High and Low Spots
Add soil to low spots and compact it firmly. Remove excess soil from high spots until measurements match your baseline height.
After each adjustment, re-check with the laser level to confirm accuracy before moving to the next section.
Using a Laser Receiver for Outdoor Projects
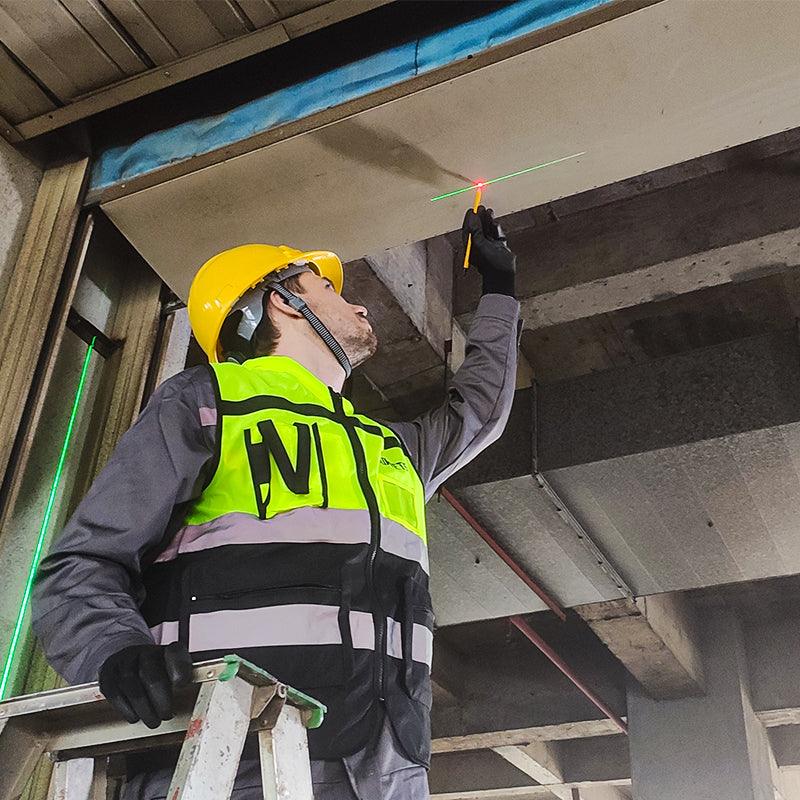
When working outdoors in bright sunlight, the laser beam may not be visible to the naked eye. In this case, a laser receiver is essential for detecting the beam accurately, especially over long distances.
For large-scale grading projects such as yard leveling or foundation preparation, a rotary laser level paired with a receiver provides maximum visibility and precision.
With these steps completed, you can now be confident that your ground is level and ready for whatever project you had intended!

Tips for Accurate Ground Leveling
- Ensure your tripod is placed on compact, stable ground to prevent shifting during measurement.
- Recalibrate the laser level if it is bumped or repositioned during the project.
- Avoid working in strong wind conditions, as even slight vibration can affect beam alignment over long distances.
- Use a laser receiver for outdoor applications, especially in bright sunlight or over distances exceeding 30–50 feet.
- For drainage purposes, remember that ground should often slope slightly (typically 1–2%) away from structures rather than being perfectly flat.
- Compact filled soil in layers to prevent settling after completion.
- Always double-check your measurements for accuracy. Even if you've taken all the necessary precautions with your setup and accessories, it's always wise to check your results twice to make sure they're accurate before proceeding.
- Always store your laser level and accessories in a safe, dry place when not in use to prolong their life span. Excessive exposure to moisture or dust can damage the electronic components of the unit and shorten its lifespan if not taken care of properly. Investing in a quality carrying case is also an option for keeping it safe from harm during transport and storage.
- Ensure that you are using the right tool for the job - different types of laser levels excel at different jobs, so make sure you're using one that's suited to the specific project you’re working on. For example, if you need horizontal leveling, a rotary level might be best while a dot laser is perfect for vertical leveling.
Benefits of using a laser level for leveling ground
Using a laser level for leveling ground is an efficient and accurate way of establishing the correct grade or slope. It provides a much more precise measurement than traditional methods, like using a longboard with in-grade markings or transit levels with bubble vials.
- The advantages of using a laser level are numerous:
- It produces an exact, consistent line that can be seen from far away;
- It enables you to easily measure angles up to 360 degrees;
- Allows for easy transfer of information between different points on the field since all measurements are taken at the same time;
- Due to its accuracy and precision, it minimizes rework time significantly.
Moreover, the setup is simple and straightforward, as the laser level is self-leveling and can be easily adjusted to the required grade or slope. Once set up, it requires minimal time for adjustments, saving you time and effort.
5 Common mistakes people make when using a laser level
- Not Choosing the Right Laser Level: There are various types of laser levels available, each with its own advantages and disadvantages. It is important to choose a level that suits your needs in terms of accuracy, size, and portability.
- Incorrectly Setting Up the Laser Level: Before using a laser level it is necessary to set it up correctly in order to ensure accurate results. This includes making sure it is securely mounted on a tripod or other sturdy surface at the correct height, and aligned according to the manufacturer's instructions.
- Improper Use of the Tripod: Using an incorrect or unstable tripod can lead to inaccurate results when leveling an area with a laser level. To avoid this, make sure the tripod you are using is suitable for the size and weight of your laser level, and that it is securely set up on a solid surface.
- Not Checking for Obstructions: Before starting to use a laser level, it is important to check for any obstructions which may interfere with the beam of light from the device. This includes trees, buildings, or other structures in line with where the level will be used.
- Ignoring Safety Measures: It is important to take safety measures when working with a laser level as they emit powerful beams of light which can cause serious eye damage if not handled correctly. Always wear protective goggles when using a laser level and ensure that no one else is standing in the beam of light. Additionally, check to make sure the level is stable before using and that there is no edging or other objects which may cause it to move out of alignment.
By following these simple tips you will be able to ensure accurate results when leveling an area with a laser level. Taking the time to do things correctly and safely will save you both time and money in the long run.
Frequently Asked Questions:
What safety precautions should I take when using a laser level?
Always wear protective eyewear when working with a laser level, as the beams of light emitted by the device can be damaging to the eyes. Additionally, always make sure that the tripod is firmly set in place, as sudden movements or vibrations could cause inaccurate readings. Finally, never point the beam at yourself or other people as this could result in injury.
Can you level the ground with a laser level?
Yes, a laser level can be used to level ground. You simply need to attach the device to a tripod and turn it on. Adjust the angle of the beam until it is correctly leveled according to your desired surface. After that, use a spirit level or tape measure to check if the area you leveled with the laser is indeed flat.
How accurate are laser levels for leveling ground?
Laser levels are extremely accurate when it comes to leveling the ground. Generally speaking, they offer an accuracy range of up to 1/8 inch over 100 feet. It is important to note that this accuracy may vary depending on the specific model you’re using.
What type of laser level should I use for leveling the ground?
When it comes to selecting the right laser level for leveling the ground, there are a few things to consider. If you’re working on a large area, then you’ll need a rotary laser level that emits a 360-degree beam of light. For smaller areas, an electronic self-leveling laser will do the job.
Conclusion:
In conclusion, using a laser level for leveling ground is an effective way of establishing a precise and consistent grade or slope. It eliminates the need for manual calculations and measurements when transferring information between different points on the field, minimizing rework time significantly. Additionally, its simple setup and adjustment make it an efficient tool for both small-scale projects and large-scale ones. Investing in a quality laser level will save you time and money in the long run.
Leave a comment
All comments are moderated before being published.
This site is protected by hCaptcha and the hCaptcha Privacy Policy and Terms of Service apply.