

























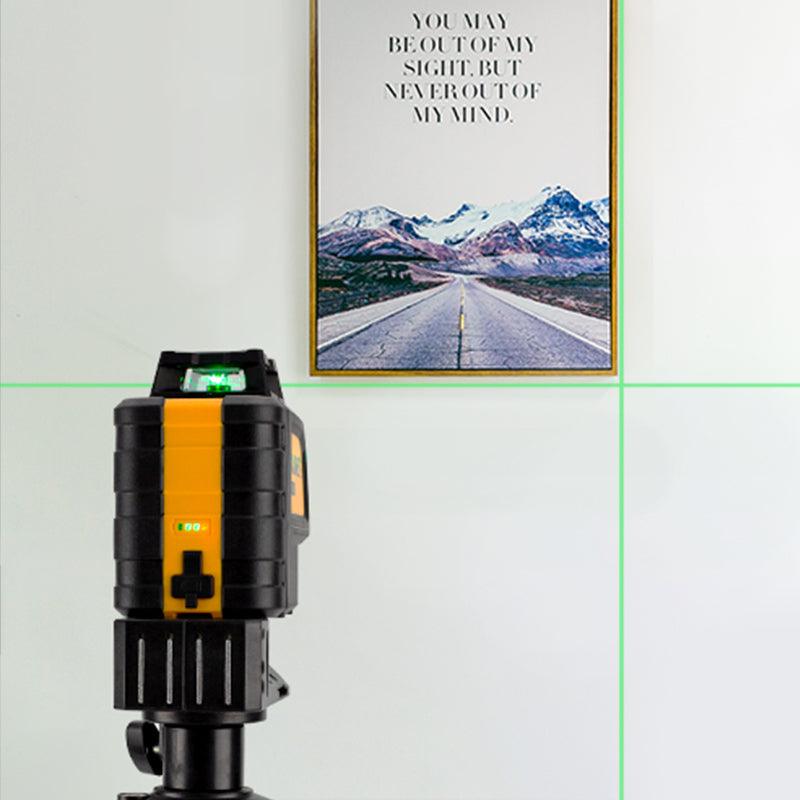
Using a laser level to hang pictures is straightforward. Set one level reference line first. Then measure each frame’s hanging offset before marking the fastener points.
A laser level is especially useful when you are arranging several frames. It keeps the layout aligned across the wall, but you still need to measure each frame and choose suitable hanging hardware.
Why use a laser level for hanging pictures?
A laser level gives every frame the same visual reference across the wall.
- More consistent alignment: The projected line makes it easier to keep several frames at the same height.
- Fewer unnecessary holes: You can review the full layout before installing hooks or anchors.
- Easier gallery wall planning: Horizontal and vertical lines help you organize rows or stacked arrangements.
- Faster final checks: The laser makes small height differences easier to notice.
A spirit level can still work well for one small frame. A laser level becomes more useful when the alignment must continue across a wider area.
What do you need before you start?
For most picture-hanging projects, you need a laser level and a few basic measuring tools.
- A self-leveling cross-line laser level
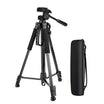
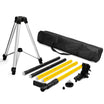
- A stable tripod or compatible mounting bracket
- A tape measure
- A pencil with an eraser
- Picture hooks, screws, or wall anchors
- A stud finder when mounting a heavy frame
- A step ladder when the installation point is out of reach
Check the weight of each frame before selecting the fastener. The correct hardware depends on both the wall material and the frame’s weight.
How do you use a laser level to hang pictures?
Use the laser as a shared reference line, then calculate the actual fastener position for each frame.
Step 1: Plan the finished frame height
Begin by deciding where the top or center of the artwork should sit. Consider the furniture below it and the proportions of the wall.
Do not automatically use the floor or ceiling as your reference. Either surface may be slightly uneven, especially in an older home.
Step 2: Set up the laser level
Place the laser on a stable surface or attach it to a compatible mount. Position it so the horizontal beam crosses the area where the frames will hang.
When using a self-leveling model, allow the beam to settle before making marks. If the beam flashes or will not stabilize, reposition the unit and check the instructions for your model.
Step 3: Measure the frame’s hanging offset
The laser line does not automatically show where the nail should go. You must account for the distance between the frame’s top edge and its hanging hardware.
For a sawtooth hanger, measure from the top of the frame to the point where the hook will rest. For picture wire, pull the wire upward as it will sit on the wall. Measure from the top edge to the highest point of the wire.
Record this measurement for every frame. Two frames of the same size can still have different hanger positions.
Step 4: Mark each frame’s center and spacing
Measure the width of each frame and mark its center. Decide how much space you want between neighboring frames before transferring the layout to the wall.
Use light pencil marks for the frame centers. Align these marks with the intended positions along the laser line.
Step 5: Transfer the fastener positions to the wall
If the laser represents the top edge of the frames, measure downward by the hanging offset recorded earlier. Place a small pencil mark at the resulting fastener point.
You can also position the laser directly at hook height. This method is convenient when every frame uses the same hanging system and offset.
Step 6: Install the correct hanging hardware
Install a fastener that is suitable for the wall and rated for the frame’s weight. A lightweight frame may only require a picture hook. A heavier item may need a stud or a properly rated wall anchor.
Before drilling into a wall, consider whether electrical wiring or plumbing could be hidden behind the surface. Use an appropriate detector when the location is uncertain.
Step 7: Hang the frames and verify the alignment
Hang each frame and compare its top edge with the laser line. Make small adjustments until the frame sits at the intended height.
Picture wire can shift after the frame is placed on the hook. Step back and check the complete arrangement rather than judging each frame separately.

How do you space multiple pictures evenly?
Measure the complete arrangement before marking individual fastener points.
For a simple row, add the widths of all frames. Then add the planned gaps between them. This gives you the total width of the finished display.
Total layout width = combined frame widths + combined gap widths
If the available wall area is fixed, use this calculation:
Gap size = (available width − combined frame widths) ÷ number of gaps
For three frames, there are two internal gaps. If you also want equal margins at both ends, include those margins as additional spaces in the calculation.
For identical frames, you can also work from center to center:
Center-to-center distance = frame width + desired gap
Mark the center of the entire arrangement first. Working outward from that point helps keep the layout visually balanced.
Which type of laser level is best for picture hanging?
A self-leveling cross-line laser is usually the most practical option for hanging pictures indoors.
- Horizontal line: Useful for aligning a row of frames.
- Vertical line: Helpful for stacked artwork or centered arrangements.
- Cross-line mode: Makes it easier to align both height and center position.
- Flexible mounting: A tripod thread or wall bracket lets you place the beam at the required height.
A rotary laser is generally unnecessary for a normal picture-hanging project. A compact line laser provides enough coverage for most rooms.
What mistakes should you avoid?
The most common errors happen when the laser line is treated as a substitute for measuring the frame.
- Using the top-edge line as the nail position: Measure the frame’s hanging offset before marking the fastener point.
- Assuming every hanger is positioned identically: Check each frame, even when the frames appear to match.
- Using a loose picture wire measurement: Pull the wire upward to simulate how it will sit on the hook.
- Following an uneven ceiling: Use the laser’s level line as the reference instead.
- Choosing hardware by appearance alone: Match the fastener to the wall and the actual frame weight.
- Marking with a permanent pen: Use light pencil marks that can be removed after installation.
- Drilling without checking the wall: Stop when the location of hidden services is uncertain.
Laser safety: Never look directly into the beam or point it toward another person. Keep the beam away from mirrors and other highly reflective surfaces. Follow the warning label and instructions supplied with your laser level.
Ladder safety: A laser level does not make ladder work automatically safer. Place the ladder on stable ground and avoid leaning sideways. Maintain three points of contact while climbing.

Frequently asked questions
These answers cover the most common setup and picture-hanging questions.
Can you use a laser level without a tripod?
Yes. Place the laser on a stable shelf or another flat surface at the required height. You can also use the mounting bracket supplied with the tool.
A magnetic mount only works on a suitable metal surface. It will not attach directly to ordinary drywall unless a compatible bracket or metal support is installed.
Should the laser line mark the top of the frame or the hook height?
Either method can work. A top-edge line makes the finished arrangement easier to visualize. A hook-height line reduces the amount of measuring needed during installation.
Whichever method you choose, use it consistently across the complete arrangement.
Can you use a laser level vertically?
Yes. A vertical line is useful when several pictures need to share the same center point. It also helps when arranging frames above one another.
How do you hang a frame that has two hooks?
Measure the distance between the two hanging points on the back of the frame. Mark the center between them, then transfer both positions to the wall.
Use the horizontal laser line to confirm that the two fasteners are at exactly the same height.
Can a laser level find wall studs?
No. A laser level provides alignment but does not normally detect studs. Use a dedicated stud finder when the fastener needs to enter a wooden or metal stud.
Is a laser level necessary for one picture?
No. A small spirit level may be quicker for one lightweight frame. A laser level is more valuable when you need to coordinate several positions across the wall.
How do you keep pictures from shifting after installation?
Make sure the hanging wire is centered on the hook. Small adhesive frame bumpers can also reduce movement and protect the wall surface.
Do you need protective glasses when using a laser level?
Follow the safety instructions for the specific laser class shown on your tool. Do not assume that ordinary glasses make it safe to look into the beam.
For normal indoor alignment, the essential precautions are to avoid direct eye exposure and keep the tool away from children.
Conclusion
A laser level makes it easier to hang pictures in a straight and visually balanced arrangement. The best results come from combining the projected line with accurate frame measurements.
Plan the layout before making holes. Measure the hanger offset for every frame, install suitable hardware, and use the laser for the final alignment check.


Leave a comment
All comments are moderated before being published.
This site is protected by hCaptcha and the hCaptcha Privacy Policy and Terms of Service apply.