


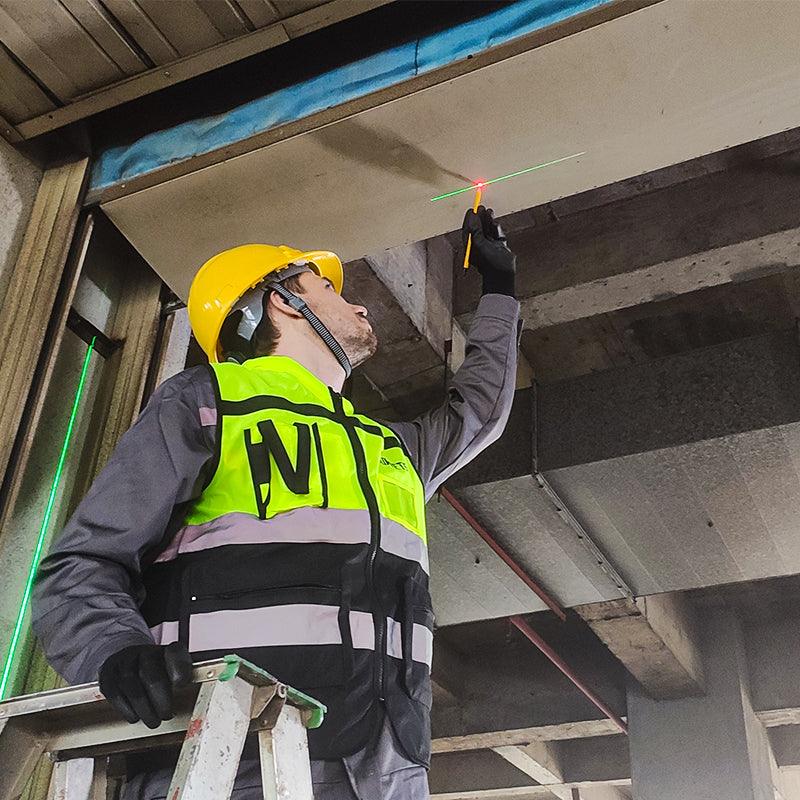
Using a laser level to mark a ceiling helps you create straight, repeatable layout lines for installation work. Instead of measuring from the wall over and over, you can project a clear reference line, mark it once, and double-check the layout before you drill, cut, or install anything.
How Do You Choose the Right Laser Level for Marking a Ceiling?
The best laser level for ceiling layout is a self-leveling model with the right beam pattern, visibility, mounting method, and accuracy rating for your project.
For a simple straight line, a cross-line laser is usually enough. For recessed lights, ceiling grids, drywall layout, or full-room alignment, a 3x360° laser level is more convenient because it can project continuous horizontal and vertical planes around the room.
Before choosing a laser level, check these points:
- Beam type: A cross-line laser works well for basic ceiling marks. A 360° laser is better when you need layout lines across multiple walls or the full ceiling area.
- Self-leveling function: This helps the tool correct small setup errors. If the laser is outside its leveling range, most models will blink or alert you.
- Mounting options: A tripod, telescopic pole, magnetic bracket, or wall mount helps keep the laser steady and at a usable height.
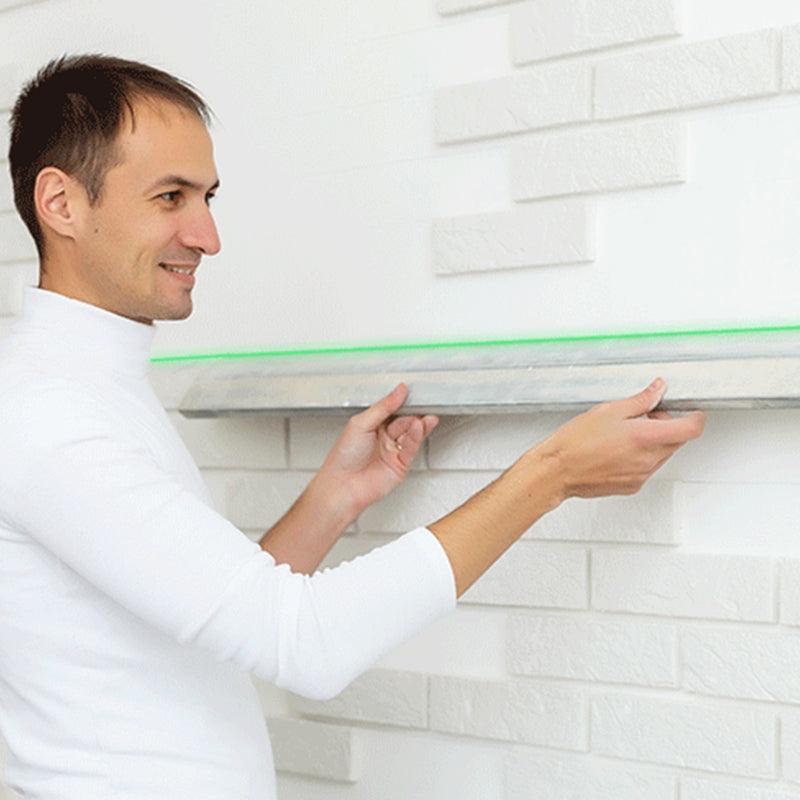
- Laser visibility: Green beams are usually easier to see indoors, especially in bright rooms. Red beams can still work well for shorter indoor layouts.
- Accuracy rating: Check the manufacturer’s accuracy specification and working range. Do not assume all laser levels perform the same.
- Manual mode: This is useful for angled layout lines, but it should not be used by mistake when you need a true level or plumb line.
How Do You Set Up a Laser Level for the Most Accurate Ceiling Marks?
Accurate ceiling marking starts with a stable setup, clear reference points, and a final measurement check before you make permanent marks.
- Start with a clean layout plan: Decide what you are marking before turning on the laser. For example, you may be marking a lighting row, a drywall seam, a ceiling grid, or the centerline of a room.
- Use a stable base: Mount the laser level on a tripod, pole, bracket, or firm surface. Avoid placing it on a ladder, loose board, soft furniture, or anything that can move while you work.
- Let the laser self-level: Turn on the laser and give it a moment to settle. If the beam flashes or the tool gives an out-of-level warning, adjust the base until the laser is within its leveling range.
- Check the beam path: Make sure furniture, cabinets, ceiling fans, light fixtures, or open doors are not blocking the beam.
- Use reliable reference points: Measure from a fixed wall, corner, or centerline. If the room is not perfectly square, decide which wall or feature matters most for the final installation.
- Mark lightly first: Use painter’s tape or small pencil marks before making permanent cuts, holes, or anchor points.
- Verify with a tape measure: A laser gives you a straight reference line, but it does not replace measurement. Check spacing, distance from walls, and alignment before installing anything.
Good setup matters more than rushing the mark. A laser line is only useful when the tool is steady, level, and aligned to the correct reference point.
How Do You Use a Laser Level to Mark a Ceiling?
To mark a ceiling with a laser level, project the beam onto the ceiling or surrounding walls, align it with your reference points, then transfer the line using pencil marks or painter’s tape.
For this method, a self-leveling cross-line laser or 360° laser level works best. A 360° model is more efficient when you need to carry the same line around the room.
What Tools Should You Prepare Before Marking the Ceiling?
You should prepare the laser level, a stable mount, a tape measure, painter’s tape, a pencil, and basic safety gear before starting the layout.
- Self-leveling laser level
- Tripod, telescopic pole, wall mount, or magnetic bracket
- Tape measure
- Pencil or fine-tip marker
- Painter’s tape
- Ladder or work platform, if needed
- Safety glasses or laser safety eyewear if required by the tool label, workplace rules, or manufacturer’s instructions
What Is the Step-by-Step Process for Marking a Ceiling?
The basic process is to set the laser, align the beam, mark the layout, and confirm the measurements before installation.
- Find your starting reference: Measure from a wall, corner, fixture box, or room centerline. Mark the first reference point with painter’s tape or a light pencil mark.
- Mount the laser securely: Place the laser level on a tripod, pole, or bracket. Keep it stable and away from foot traffic.
- Turn on the correct laser line: Use the horizontal, vertical, cross-line, or 360° plane that matches your layout. For ceiling rows, a vertical plane can help project a straight line from wall to ceiling.
- Align the beam with your reference point: Rotate or adjust the laser until the beam passes through the mark you already measured.
- Transfer the line to the ceiling: Place small pencil marks along the beam or use short pieces of painter’s tape to show the layout. Avoid heavy marks until you are sure the line is correct.
- Repeat for parallel lines: For lighting rows, ceiling panels, or drywall seams, measure the offset from the first line and repeat the process.
- Check the layout: Measure the distance between marks and confirm that the line fits the actual installation plan.
- Lock or turn off the laser after use: Many laser levels have a pendulum lock for storage and transport. Follow the manual for your model.
This method gives you a clean visual guide without drawing long freehand lines across the ceiling. It also makes it easier to keep several ceiling marks aligned with each other.
What Common Mistakes Should You Avoid When Marking Ceilings with a Laser Level?
The most common mistakes are unstable mounting, wrong laser mode, poor reference points, and failing to double-check the measurements before installation.
| Mistake | Why It Causes Problems | How to Avoid It |
|---|---|---|
| Mounting the laser on an unstable surface | Even a small movement can shift the entire layout line. | Use a tripod, pole, bracket, or firm surface that will not move during marking. |
| Using manual mode by accident | Manual mode can project angled lines that are not level or plumb. | Use self-leveling mode unless you intentionally need an angled line. |
| Ignoring the out-of-level warning | A flashing or warning beam usually means the tool cannot self-level correctly. | Adjust the base until the laser is within its leveling range. |
| Using a weak reference point | Walls, ceilings, and corners are not always perfectly square or straight. | Measure from the most important finished surface, centerline, or installation point. |
| Forgetting beam thickness | A thick laser line can create small marking errors if you mark from different edges of the beam. | Always mark from the same edge or the center of the beam. |
| Skipping the measurement check | A straight laser line can still be in the wrong location. | Confirm spacing, offsets, and fixture positions with a tape measure before drilling or cutting. |
| Pointing the beam toward someone’s eyes | Laser beams can be harmful if misused, especially if stared into directly. | Never aim the beam at a person’s face. Follow the warning label and manual for your specific laser class. |
Where Can Ceiling Laser Marks Be Used?
Ceiling laser marks can be used anywhere you need straight, repeatable alignment across a ceiling or from wall to ceiling.
| Project | How the Laser Helps |
|---|---|
| Recessed lighting layout | Helps keep multiple lights in a straight row and evenly spaced. |
| Ceiling fan or chandelier positioning | Helps align the fixture with a room centerline, table, island, or walkway. |
| Drywall ceiling layout | Helps mark straight seams, cut lines, and framing references. |
| Drop ceiling grid installation | Helps transfer level reference lines around the room before installing the grid. |
| Ceiling trim or molding | Helps keep trim lines consistent where the ceiling meets walls or soffits. |
| Wall-to-ceiling transfer marks | Helps extend a wall reference line onto the ceiling without guessing. |
Frequently Asked Questions:
What Is the Purpose of a Laser Level for Marking Ceilings?
A laser level provides a straight visual reference line so you can mark ceiling points more accurately. It is commonly used for lighting rows, drywall layout, ceiling grids, trim, panels, and other installation work that needs consistent alignment.
How Does a Laser Level Work on a Ceiling?
A laser level projects a visible beam or plane that can be used as a layout reference. Depending on the model, it may project a horizontal line, vertical line, cross line, or full 360° plane across the room.
What Are the Advantages of Using a Laser Level for Ceiling Layout?
The main advantages are straighter lines, faster layout, fewer repeated measurements, and better alignment across longer distances. It is especially helpful when several ceiling marks need to line up with each other.
Are There Any Safety Precautions When Using a Laser Level?
Yes. Never stare directly into the laser beam or point it at another person’s eyes. Check the laser class on the product label, follow the manufacturer’s manual, and use appropriate eye protection when required by the tool, jobsite, or workplace safety rules.
Can You Use a Laser Level on a Textured Ceiling?
Yes, you can use a laser level on a textured ceiling, but the line may look less sharp on heavy texture. Mark small points along the beam instead of trying to draw one long line, then verify the marks with a tape measure.
Do You Need a Green Laser Level for Ceiling Work?
You do not always need a green laser level, but it can make the beam easier to see in bright indoor spaces. For small rooms or dimmer areas, a red laser may still be enough.
Can a Laser Level Measure Ceiling Height?
A laser level is mainly used to project level, plumb, or straight reference lines. To measure ceiling height, use a tape measure or a laser distance meter.
Should You Mark Directly on the Ceiling?
You can mark directly on the ceiling with a light pencil mark, but painter’s tape is often cleaner. Tape also makes it easier to adjust your layout before making permanent marks, holes, or cuts.
Conclusion:
A laser level is one of the simplest ways to make ceiling layout work faster, cleaner, and more accurate. With a stable setup, clear reference points, and a final measurement check, you can mark straight ceiling lines.
For best results, choose the right beam type for the project, keep the laser steady, and treat the beam as a reference line rather than a replacement for measurement. For more information about laser levels and layout tools, please click KAIWEETS.

Leave a comment
All comments are moderated before being published.
This site is protected by hCaptcha and the hCaptcha Privacy Policy and Terms of Service apply.