
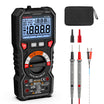
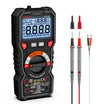
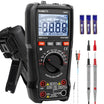

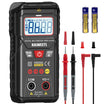



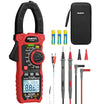
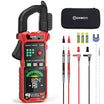
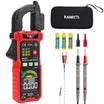
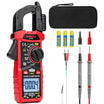

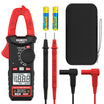



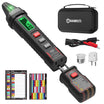
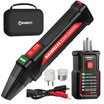

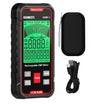


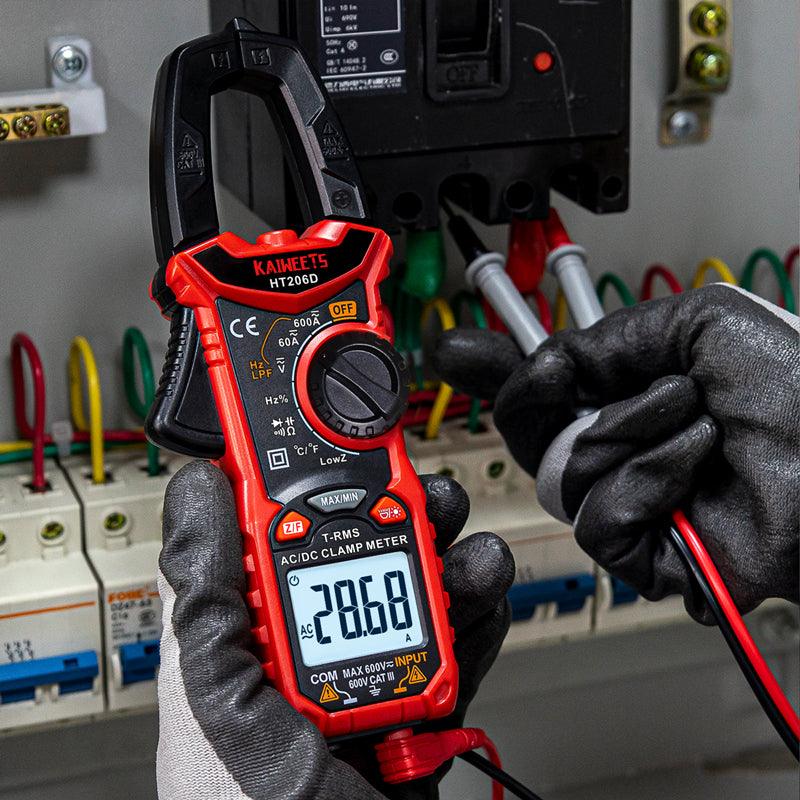
A clamp meter measures electrical current by sensing the magnetic field around a conductor. Its hinged jaws let you take a load-current reading without cutting the wire or placing the meter in series with the circuit.
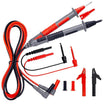
For a standard current measurement, close the jaws around one insulated conductor. Do not clamp around an entire power cord because the magnetic fields from the outgoing and returning current usually cancel each other. You also do not need the red and black test leads when measuring current through the meter’s built-in jaws.
Clamp meters may measure AC current only or both AC and DC current. Many models also use test leads to measure voltage or resistance. Always check the meter’s specifications before choosing a function.
How do you measure current with a clamp meter?
You measure current by selecting the correct current mode and clamping the jaws around one conductor while the circuit is operating.
Step 1: Confirm that the meter is suitable for the circuit
Check whether the current is AC or DC. Confirm that the expected current is within the meter’s measurement range.
The clamp meter’s voltage rating and measurement category must also be appropriate for the electrical environment. Do not use a meter on a circuit that exceeds the limits marked on the instrument.
Step 2: Inspect and prepare the clamp meter
Examine the case and jaws before use. Do not use the meter if the housing is cracked or the jaw surfaces are damaged.
- Make sure the battery cover is closed.
- Remove the test leads from the input jacks.
- Turn the dial to AC current or DC current.
- Select an appropriate range if the meter is not auto-ranging.
If you are measuring DC current, close the empty jaws and use the zero function before clamping the conductor. Zeroing removes offset from the reading. It is not required for most AC current measurements.
Step 3: Identify one conductor
Locate the individual insulated conductor that carries the current you want to measure. For load-current testing, the clamp must surround only one conductor.
Do not clamp around both the line and neutral wires. Their magnetic fields oppose each other, so the display may show zero or a much smaller value.
If the conductors are enclosed in a household power cord, use a properly rated line splitter or another approved access method. Do not cut insulation or separate live wiring simply to obtain a reading.
Step 4: Clamp the jaws around the conductor
Open the jaws and place the conductor inside them. Close the jaws completely, then position the conductor near the center of the opening.
Keep your fingers behind the protective barrier on the meter. Do not touch the conductor or move nearby wiring while taking the measurement.
Step 5: Read and confirm the result
Allow the display to stabilize before recording the current. Use the hold function if the screen is difficult to see from the measurement position.
When measuring DC current, a negative sign usually means the current is flowing in the opposite direction from the meter’s reference arrow. Reverse the jaw orientation if you need a positive reading.
Step 6: Remove and store the meter
Open the jaws and remove the meter without pulling on the conductor. Turn the meter off when the test is complete.
Store it in a clean, dry location. Protect the jaw surfaces from dirt because a poor jaw closure can affect future measurements.
How can you use a clamp meter safely?
Safe clamp meter use depends on choosing a correctly rated instrument and avoiding contact with exposed energized parts.
- Read the meter’s manual before using an unfamiliar function.
- Inspect the case and jaw insulation before every test.
- Use a meter with suitable voltage and measurement-category ratings.
- Keep your fingers behind the protective barrier.
- Do not exceed the meter’s maximum current range.
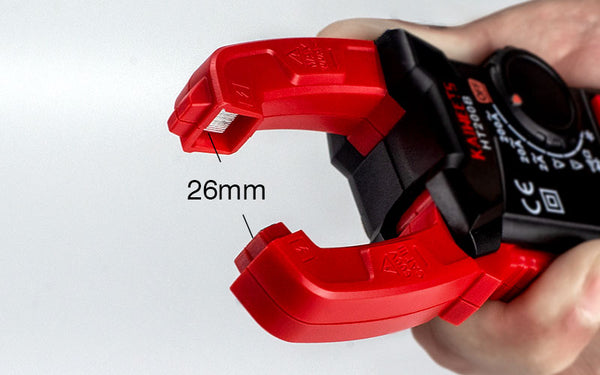
- Do not force an oversized conductor into the jaws.
- Avoid wet locations unless the meter is specifically rated for them.
- Do not use the meter near explosive gas or vapor.
De-energize equipment before opening an enclosure or gaining access to internal wiring whenever the work allows it. A circuit may need to operate during the actual current measurement, but setting up the test should not create unnecessary exposure to live parts.
Testing near exposed energized conductors presents shock and arc hazards. This work should be performed by a qualified person using the protective equipment and procedures required for the installation.
A clamp meter reduces the need to open a circuit, but it does not make all energized testing safe. Stop the test if the conductor is damaged or the work area cannot be accessed safely.
What mistakes can cause an incorrect clamp meter reading?
Most incorrect readings come from clamping the wrong conductors or using a function that does not match the current being measured.
Clamping around an entire power cord
A standard load-current clamp should surround one conductor. When both the line and neutral conductors are inside the jaws, their magnetic fields usually cancel.
A leakage-current clamp is a special exception. It may be placed around all current-carrying conductors to measure the small imbalance between them.
Leaving the test leads connected
The built-in jaws do not require test leads for current measurement. Remove the leads from the input jacks before using the jaws unless the manufacturer gives different instructions for that model.
Test leads are normally used when the clamp meter is measuring voltage or resistance. Those functions require a different setup.
Using the wrong AC or DC mode
An AC-only clamp meter cannot measure steady DC current correctly. A meter that supports both current types must be set to the appropriate mode.
Some meters automatically identify AC or DC, but this feature should not be assumed. Check the display and the product manual.
Skipping the DC zero adjustment
DC clamp meters can show a small offset even when no conductor is inside the jaws. Close the empty jaws and press the zero button before measuring DC current.
Repeat the zero adjustment if the reading drifts after the meter has been moved or exposed to a significant temperature change.
Allowing the jaws to remain partly open
The jaw surfaces must close fully. Dirt or damage at the mating surfaces can create an air gap and reduce measurement accuracy.
Do not place tape or another object between the jaw tips. Clean the meter only according to the manufacturer’s instructions.
Measuring below the meter’s useful range
A general-purpose clamp meter may not resolve very small currents. If the expected value is below the meter’s specified accuracy range, the display may fluctuate or remain at zero.
Use a low-current or leakage-current clamp when small measurements are important. Check the instrument’s resolution and stated accuracy before relying on the result.
Confusing zeroing with calibration
Zeroing removes an offset before a DC current test. Calibration is a separate process that compares the meter against a known reference standard.
Users do not normally recalibrate a clamp meter before every measurement. Follow the manufacturer’s verification or service guidance when traceable accuracy is required.

How accurate is a clamp meter?
A clamp meter can provide reliable current measurements when it is used within the accuracy conditions stated by its manufacturer.
Accuracy is normally listed as a percentage of the reading plus a small number of display counts. The exact specification can change with the selected range or current frequency.
Several practical factors can affect the result:
- The jaws are not fully closed.
- The conductor is positioned near a jaw edge.
- The meter was not zeroed before a DC test.
- The current is below the specified measurement range.
- A nearby conductor produces a strong magnetic field.
- The waveform is outside the meter’s supported frequency range.
Centering the conductor usually improves repeatability. Keep the clamp away from other high-current wires when the installation provides enough space.
For AC circuits with distorted waveforms, a true RMS clamp meter can provide a more representative reading than an average-responding model. Distorted waveforms are often associated with electronic controls or switching power supplies.
Do not describe a clamp meter as accurate based only on its maximum current rating. Review the published accuracy specification for the range you plan to use.
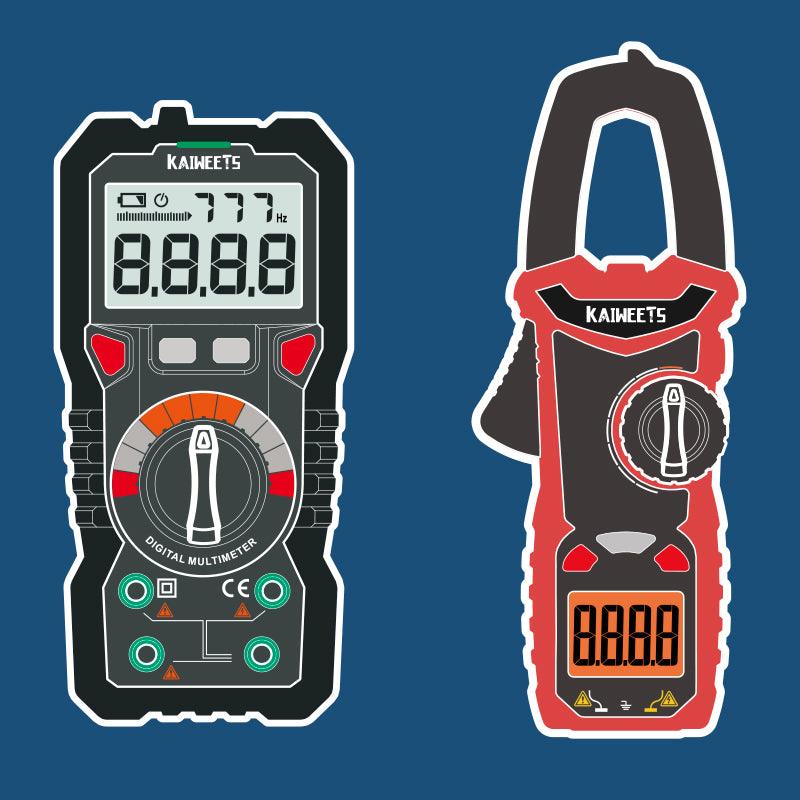
When should you use a clamp meter instead of a multimeter?
A clamp meter is usually the better choice when you need to measure load current without disconnecting the conductor.
| Measurement task | Clamp meter | Digital multimeter |
|---|---|---|
| Higher load current | Measures through the jaws without opening the circuit | Often has a lower current limit |
| Current measurement setup | Clamps around one conductor | Must usually be connected in series |
| Low-current measurement | Depends on jaw resolution and meter type | May provide better resolution within its fused range |
| Voltage or resistance | Available on multifunction models through test leads | A standard function on most models |
A digital multimeter can be preferable when you need greater resolution at a low current. However, measuring current with a multimeter usually requires opening the circuit and placing the meter in series.
Connecting a multimeter incorrectly in current mode can short the circuit or blow the meter’s fuse. A clamp meter avoids that series connection when current is measured through its jaws.
Frequently Asked Questions
Can every clamp meter measure both AC and DC current?
No. Some clamp meters measure AC current only, while AC/DC models can measure both.
AC-only models commonly use current-transformer sensing. DC-capable models need a sensor that can detect a steady magnetic field. Check for clearly marked A~ and A⎓ functions before purchasing or testing.
Why does a clamp meter read zero around a power cord?
A power cord usually contains both the outgoing and returning conductors. Their opposing magnetic fields cancel inside the clamp, which results in a zero or near-zero reading.
Use a properly rated line splitter to access one conductor. Do not damage the cord insulation to separate the wires.
Do the red and black leads need to be connected?
No test leads are needed when current is measured with the clamp meter’s built-in jaws. The jaws sense the magnetic field around the conductor.
The test leads are used for functions such as voltage or resistance. Remove them before a jaw-current measurement unless the meter’s instructions specifically require another setup.
Can a standard clamp meter measure leakage current?
A standard load-current clamp may not have enough resolution to measure small leakage currents accurately. Leakage testing requires a meter designed for low-current measurements.
Unlike a normal load-current test, leakage measurement may involve clamping around all current-carrying conductors. Follow the leakage meter’s manual because the procedure is different.
Does a true RMS clamp meter matter?
True RMS measurement is useful when AC current does not have a clean sine-wave shape. It calculates a more representative RMS value for many distorted waveforms.
An average-responding meter may still be suitable for a stable sinusoidal supply. The best choice depends on the circuit and the accuracy required.
Conclusion
A clamp meter provides a convenient way to measure current without opening the circuit. For load-current testing, select the correct mode and clamp around one insulated conductor.
Reliable results depend on proper jaw closure and the correct measurement range. DC measurements may also require zero adjustment.
Never treat the clamp design as a substitute for electrical safety procedures. Use a correctly rated meter and avoid exposed energized parts unless you are qualified to perform that work.
Related Articles:


Leave a comment
All comments are moderated before being published.
This site is protected by hCaptcha and the hCaptcha Privacy Policy and Terms of Service apply.