


The ground wire in a car performs the electrical circuit and allows current to flow. A faulty ground wire can cause a variety of electrical issues, so it's critical to inspect it on a regular basis to ensure it's in good working order. There are several methods for testing the ground wire in a car. Most people use a multimeter, but an ohmmeter or a test light can also be used.
What is a Ground Wire in a Car?
A ground wire (or ground strap) is a critical component that connects the negative battery terminal to the engine block and chassis. Its job is simple: it gives electricity a reliable “return path” back to the battery so the circuit can work.
In modern cars, this is usually a grounding system, not just one cable—there may be several ground straps and ground points linking the engine, transmission, and chassis.
If the ground is weak, electrical parts may act up (starter, alternator, lights, sensors), because current can’t return smoothly.
Also, don’t assume “any metal is a good ground.” Paint, rust, or dirty surfaces can block the connection, and some body joints don’t conduct well. When testing or grounding something, always use a clean, bare metal point.
This matters even more for high-current add-ons like amplifiers—higher current demands a better ground.
What Are the Symptoms of a Bad Ground Wire in a Car?
A failing ground wire can produce a wide range of confusing and seemingly unrelated symptoms. Because so many electrical components share the same grounding system, a single faulty connection can affect multiple systems at once. Here are the most common signs to watch for:
1. Flickering or Dimming Lights
One of the earliest and most noticeable signs of a bad ground wire is headlights or interior lights that flicker, dim unexpectedly, or vary in brightness while the engine is running. This happens because the lighting circuit is not receiving a stable return path for the current.
2. Electrical Components Not Working Properly
Power windows, the radio, dashboard gauges, or other accessories may behave erratically or stop working altogether. In some cases, multiple components may fail at the same time, which is a strong indicator that the issue is ground-related rather than a fault in any individual component.
3. Engine Stalling or Running Rough
A poor ground connection can interfere with the signals sent by engine sensors to the ECU (Engine Control Unit). This can cause the engine to stall unexpectedly, idle roughly, or hesitate during acceleration.
4. Hard Starting or No Start
If the ground connection between the battery and the engine block is weak or corroded, the starter motor may not receive enough current to crank the engine. This can result in a slow crank, a clicking sound when turning the key, or a complete failure to start.
5. Battery Drain
A bad ground wire can cause excessive current draw, leading to a battery that drains quickly even when the vehicle is not in use. If you find yourself repeatedly jump-starting your car without any obvious cause, a faulty ground wire should be investigated.
6. Unusual Noises or Interference
Poor grounding can introduce electrical noise into the audio system, causing humming, buzzing, or static through the speakers. This is a subtle but telling sign that the grounding system needs attention. Aftermarket audio equipment is particularly sensitive to ground quality — a phenomenon known as a ground loop, where inconsistent ground potential between components creates unwanted noise in the signal.
7. Warning Lights on the Dashboard
Because ground faults can send incorrect signals to the vehicle's computer, various warning lights — such as the check engine light or battery light — may illuminate without an obvious cause.
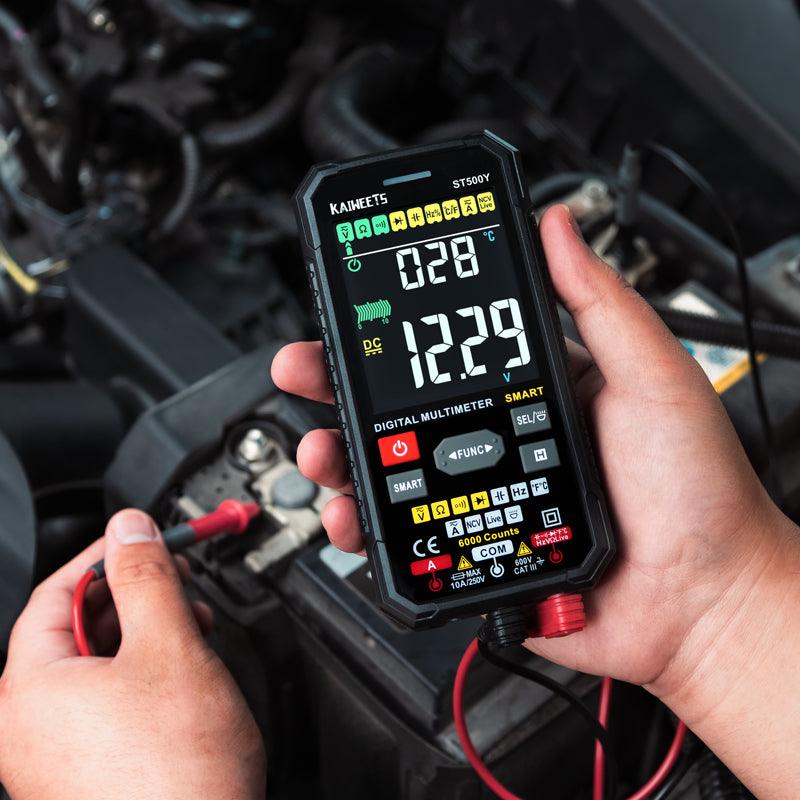
How to Test a Ground Wire With a Multimeter

What You'll Need:
-
A digital multimeter
- Safety gloves (recommended)
Always disconnect the negative battery terminal before performing any resistance (ohm) test. Testing resistance on a live circuit will produce inaccurate readings and risks damaging your multimeter.
If you need to test under real operating conditions, use the voltage drop test described in Step 4, which is designed to be performed with the circuit live.
Step 1: Prepare the Vehicle
Park the car on a flat, stable surface and engage the parking brake. Turn off the engine and open the hood to locate the battery. Make sure the ignition is fully off before proceeding.
Step 2: Set the Multimeter to Ohms (Resistance) Mode
- Turn your multimeter dial to the Ohms setting (Ω).
- Select the lowest range (usually 200 Ω). (If you are unsure how to locate these symbols or select ranges on your device, our How to Use a Multimeter: Multimeter 101 Guide for Beginners provides a complete visual breakdown).
- Touch your two probes together first; the screen should show 0.0 or 0.1. This confirms your meter is calibrated.
Some multimeters and test leads have built-in resistance (often around 0.1–0.3 Ω). When you short the probes together, record that value (for example, 0.18 Ω). Then subtract it from your measured ground resistance for a more accurate result.

Step 3: Test the Main Ground Wire
- Probe A: Place one lead on the negative battery terminal post.
- Probe B: Place the other lead on a bare metal part of the chassis (like a strut tower bolt) or the engine block.
- Check the Weld Points: If you are testing for an amplifier, move Probe B to the specific metal panel where the amp is grounded to ensure the welds between panels aren't creating resistance.
Typical Resistance Readings
| Reading | Condition |
|---|---|
| 0.0 – 0.2 Ω | Very good — most healthy ground wires will read close to 0.00 |
| 0.2 – 0.5 Ω | Generally acceptable — depends on wire length, contact surface, and vehicle type |
| 0.5 – 1.0 Ω | Suspect — likely oxidation, loose fastener, or paint/rust on the contact surface |
| Above 1.0 Ω | Probable fault — especially concerning for engine ground, main ground strap, ECU, or any high-current load |
| OL / ∞ / Unstable | Open circuit — broken wire, poor contact, or the lead is touching a painted or contaminated surface |
Step 4: Perform a Voltage Drop Test (Recommended for Live Conditions)
For a more accurate picture of how the ground performs under real operating conditions, reconnect the battery and start the engine. Switch the multimeter to DC voltage mode.
Touch one lead to the negative battery terminal and the other to the chassis ground point being tested.
- A reading of 0 to 0.1 volts is acceptable
- A reading above 0.2 volts indicates a voltage drop caused by a poor ground connection, even if the resistance test appeared normal
This test is particularly valuable because resistance tests are performed with no current flowing. A ground connection can appear fine when the circuit is dead but still cause problems under load.
Step 5: Test Individual Ground Points Throughout the Vehicle
If the main ground tests fine but symptoms persist, move the chassis lead to different points around the vehicle — the engine block, firewall, body panels, and component brackets. Compare readings across locations. Any point showing significantly higher resistance or voltage drop than others is a likely problem area.
Pay particular attention to ground points near components that have been recently installed or that are showing symptoms. Aftermarket components such as amplifiers should have their ground connections tested individually, as a ground loop can develop when two components reference different ground points with unequal potential.
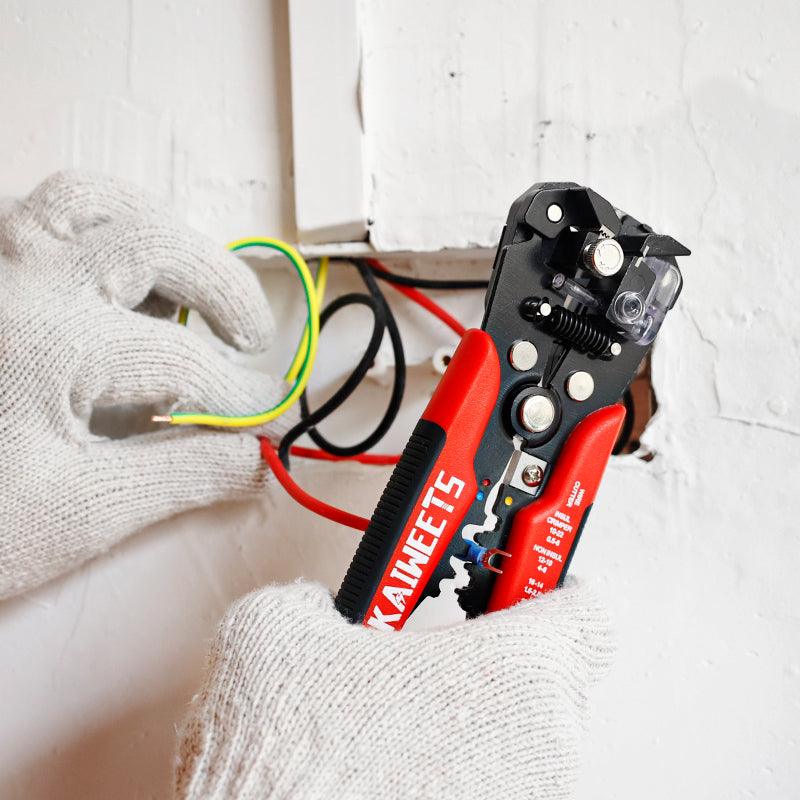
How to Replace a Ground Wire
If your ground wire is not working properly, you will need to replace it. Replacing a ground wire is a relatively easy task that can be done at home with just a few tools.
- Disconnect the battery. Before starting any work on the electrical system of the car, always disconnect the battery to avoid electrocution.
- Remove the old ground wire. Use a wrench to remove the nuts or bolts that are holding the old ground wire in place. Pull the old ground wire out and discard it.
- Connect the new ground wire Attach the new ground wire in the same location as the old one. Tighten the nuts or bolts that are holding it in place with a wrench.
- Replace the battery. After installing the new ground wire, reconnect the battery and test the electrical system to ensure that everything is working properly.
Tips for Replacing a Ground Wire
- Always disconnect the battery before working on the electrical system of the car.
- Make sure to use the proper size and type of wire when replacing a ground wire.
- Tighten all nuts and bolts securely to ensure that the new ground wire is properly attached.
- Before you drive the car, connect the battery and test the electrical system to make sure everything is working.
- If you are not confident in your ability to replace a ground wire, take the car to a qualified mechanic to have the job done.

Frequently Asked Questions:
Can I test a ground wire with a multimeter?
A ground wire can be checked with a multimeter. When you use a multimeter to check a ground wire, you should get a reading of 0 ohms. If the multimeter shows anything other than 0 ohms, the ground wire is damaged and needs to be replaced.
How can I tell if my car has a faulty ground wire?
A faulty ground wire could be the cause of your vehicle's strange behavior recently. Here are some signs that your vehicle has a bad ground wire:
- The engine may stall or run rough.
- The headlights may flicker or dim.
- The electrical system may not work properly.
If any of these things are wrong with your car, you should take it to a mechanic to be checked out and fixed. If you don't fix a broken ground wire, it could create major issues down the road.
How do I figure out which wire in my car is faulty?
If your car won't start or the electrical system appears to be malfunctioning, it could be a wire problem. You'll need to remove each wire one at a time to figure out which one is the problem.
To identify the problematic wire, you must remove each one individually. First, check all of the fuses in your vehicle. Bad things could happen if one of them goes off. If not, you must inspect each wire individually.
You'll need a multimeter to do this. First, unplug the negative end of the battery. Then, use the multimeter to check if each wire is still connected. If the wire doesn't work, it's because there is no continuity.
If you still can't figure out which wire is broken, you may need to take your car to a mechanic or an auto electrician. They will be able to figure out what's wrong and help you find the bad wire.
Leave a comment
All comments are moderated before being published.
This site is protected by hCaptcha and the hCaptcha Privacy Policy and Terms of Service apply.