


If you're like most homeowners, you have a lot of pictures that need to be hung up. But doing it the old-fashioned way with a level and some measuring tape can be tricky. A laser level can make the job a lot easier. In this post, we'll show you how to use one to hang your pictures perfectly every time. Keep reading for more tips!
Benefits of Using Laser Levels to Hang Pictures
1. Accurate Measurement:
Laser levels allow you to easily and accurately measure the distance between the wall and frame, ensuring a level and straight picture that looks great every time.
2. Eliminate Re-Hanging:
With laser levels, you can hang pictures in one attempt without having to reposition them multiple times. This eliminates any frustration associated with trial-and-error hanging methods.
3. Save Time & Money:
By taking out the guesswork, laser levels allow you to save time and money by completing tasks faster with fewer errors or mistakes.
4. Improved Safety:
When working at high heights like ladders, using a laser level reduces your risk of injury from falls or missteps.
5. Professional Results:
By removing the guesswork and ensuring accuracy, you can be sure your pictures will look great every time - just like they did in the store! With laser levels, you can rest assured that your walls will look professional and polished each time. Ultimately, using a laser level to hang pictures is an easy and effective way to ensure accurate measurements and professional results with minimal effort.
Moreover, it makes hanging pictures easier, safer, faster, and more cost-effective. So if you're looking for a reliable way to hang pictures perfectly every time, a laser level may be the perfect solution for you!
Steps of Using A Laser Level for Hanging Pictures:
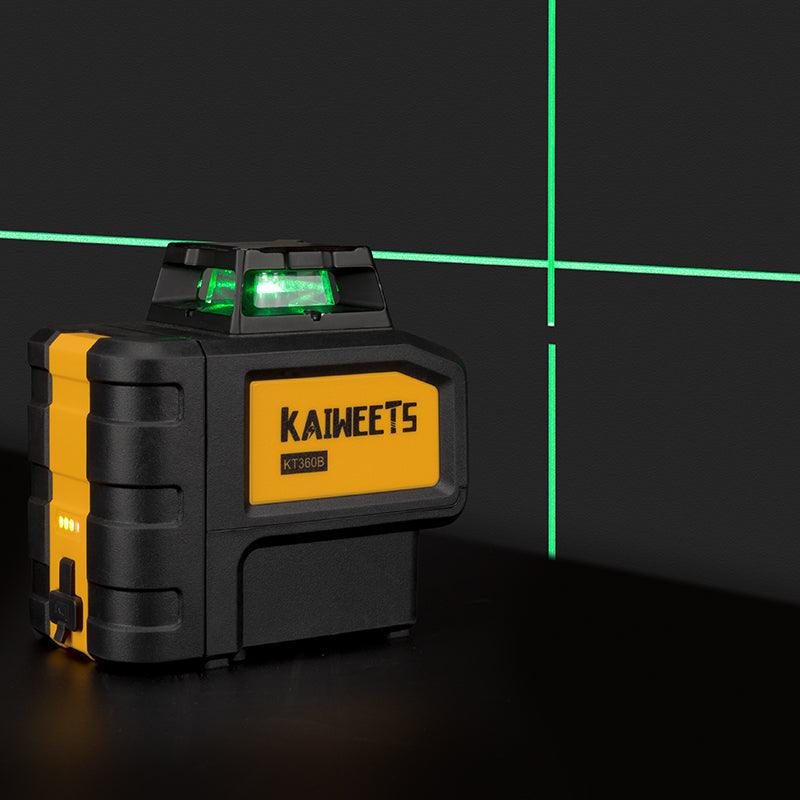
1. Set up the laser level:
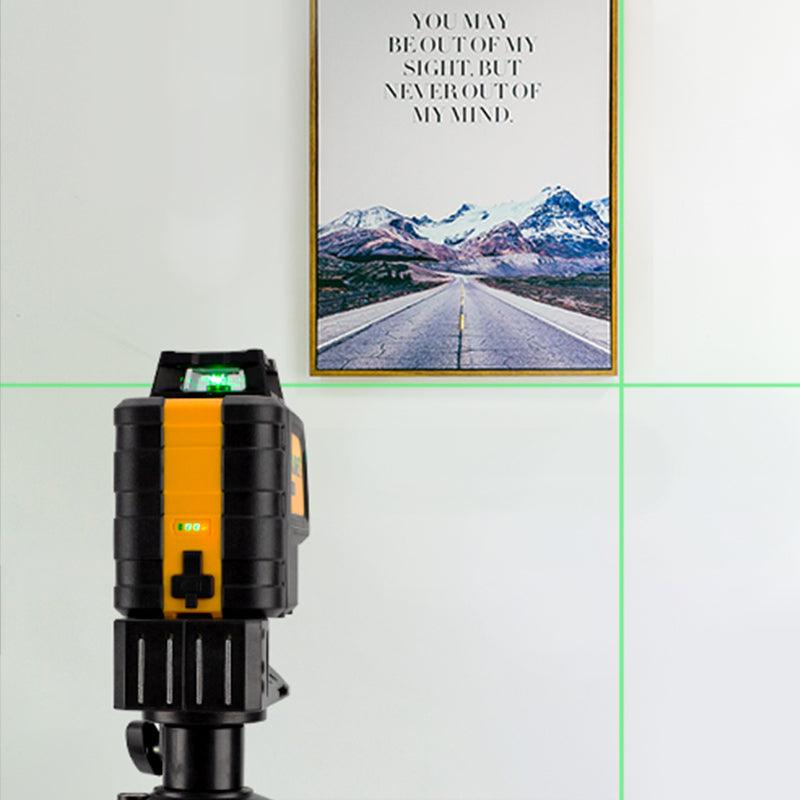
Before you begin, make sure to set up the laser level on a tripod or a flat surface. If using a tripod, adjust it so that the laser beam is in line with where you’d like your pictures to be hung.
2. Mark the wall:
Using the laser level as your guide, mark two points on the wall for each picture you plan to hang. Ensure that both points are in line with one another and at an appropriate height for your pictures.
3. Measure distances between pictures:
To ensure proper spacing between each of your hanging elements, measure and mark off spaces accordingly between each point marked on the wall. This will help you keep all of your pictures and other elements in line with one another.
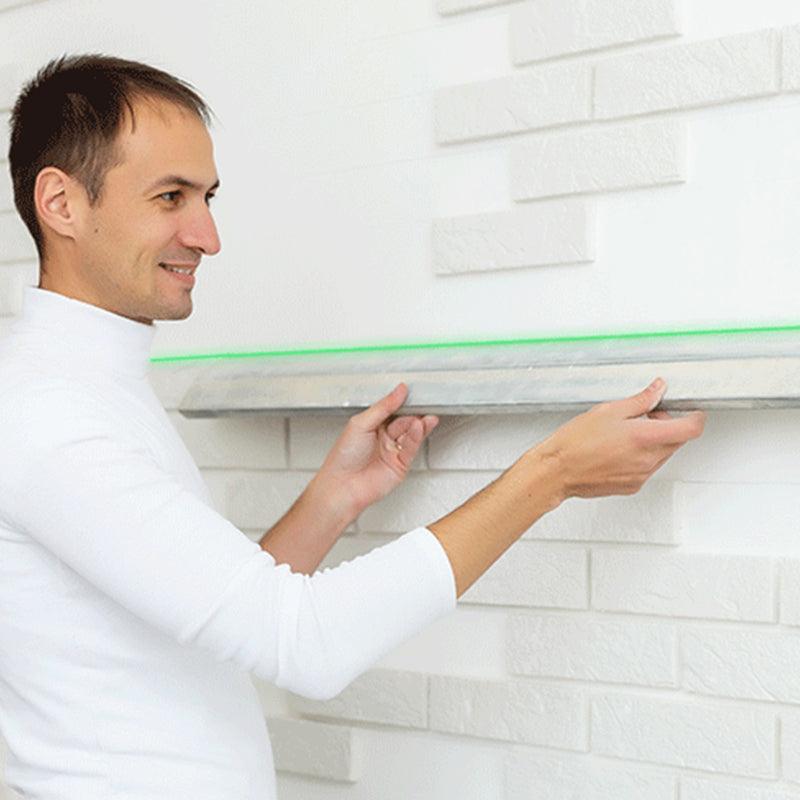
4.Hang items:
Now that you have all your points marked off, it’s time to hang your pictures and other items. Use the laser level as a guide when hammering nails into the wall, making sure that each element is hung at an even height with the others.
5. Check for accuracy:
Before you finish up, double-check that all of your hanging elements are still in line with one another using the laser level as a reference point. Make adjustments where needed so that all of your pieces are perfectly spaced and aligned with one another.
6. Enjoy:
Now sit back, relax and enjoy! You’ve successfully used a laser level to hang your pictures and other items in a perfectly straight line. When using a laser level, it’s important to take the necessary time and care to ensure accuracy. Follow these steps closely and you’ll be sure to have an impressive and professional-looking final product.
Tips for using a laser level to hang pictures perfectly:
- Start by positioning the laser level on a flat, stable surface near the wall you want to hang pictures on. Make sure the laser beam is visible and that it’s in line with where you want to position your pictures.
- Make a small dot using a pencil or marker at each spot where you want to hang your picture so you can easily find them later.
- Measure the height of each picture and adjust the laser level accordingly before moving it away from the wall. For example, if your first picture is going 10 inches above a doorway, make sure the laser is pointing 10 inches above the door as well before taking it off its stand.
- Place the second set of marks on the wall for each picture. These marks should align with the laser beam, ensuring perfect horizontal alignment when you hang your pictures.
- Finally, use a hammer to drive in small nails or hooks at each mark, then use these to hang your pictures. Using a laser level helps ensure that all of your pictures are hung perfectly straight and level!
Following these steps will ensure that your pictures are hung perfectly straight and level, making sure your walls look perfect every time. And with the help of a laser level, you can do it quickly and easily! So why not give it a try? You'll be glad you did!
Frequently Asked Questions:
How does the laser level attach to the wall?
Most laser levels come with a mounting accessory, such as a bracket or adhesive pad. The mounting accessory can be used to attach the laser level to the wall at your desired height for easy picture-hanging accuracy. Some laser levels also feature magnetic bases that make it even easier to mount and adjust the unit on any ferrous metal surface. Make sure you follow all safety instructions when attaching your laser level to any wall or surface.
Can you use a laser level vertically?
Yes, laser levels can be used vertically as well as horizontally. When using a vertical laser level, make sure you attach the unit to the wall at your desired height and aim the beam at your starting point (e.g., the top of the frame). Take care not to tilt or turn the laser level when positioning it, as this could affect accuracy.
Is there any other way to use a laser level for picture hanging?
Yes! Some laser levels feature special "picture-hanging" modes that allow you to easily position frames in relation to one another.
For example, some models have a "grid pattern" mode that emits multiple beams in an X/Y formation, allowing you to accurately space out multiple pictures at once. It's always a good idea to familiarize yourself with your device's features and modes before starting any project.
What should you not do when hanging pictures?
Be sure to avoid any shortcuts when it comes to picture-hanging. Always use a level laser level to check positioning before adjusting your nails or screws and make sure you have the right tools for the job (e.g., stud finder and wall anchors).
Lastly, never hang anything too heavy for your wall—a few pounds is usually enough for most drywall. Following these simple tips can help ensure that your pictures will stay securely on the wall for years to come.
What are some safety tips when using a laser level?
When using a laser level, always wear protective eyewear while in operation, as bright beams may temporarily impair vision. Furthermore, be sure to read all instructions provided with the device and follow all safety warnings, as misuse can result in serious injury. Lastly, keep the device away from children and pets to prevent any accidents.
Conclusion:
In conclusion, using a laser level can be an extremely effective tool for hanging pictures and other items in your home. It will give you more accuracy and precision than relying on manual measuring methods, saving both time and effort. With the right laser level, it’s simple to get the job done quickly and accurately, giving you a finished product that looks like it was hung by an experienced professional. Additionally, investing in a quality laser level is a great way to ensure that the job will last for years to come with no worries of crooked or uneven frames!
So next time you’re ready to hang some new artwork or rearrange the furniture in your home, consider using a laser level to make sure everything is placed exactly where you want it.
Commenta
Nota che i commenti devono essere approvati prima di essere pubblicati.
Questo sito è protetto da hCaptcha e applica le Norme sulla privacy e i Termini di servizio di hCaptcha.