

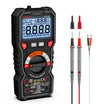
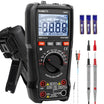

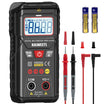
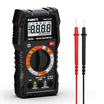

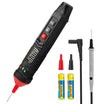


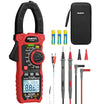
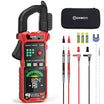
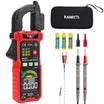
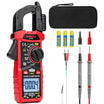

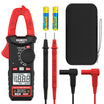

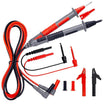


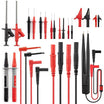

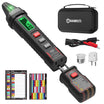
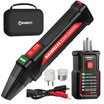
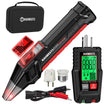
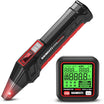

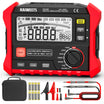
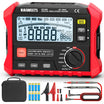








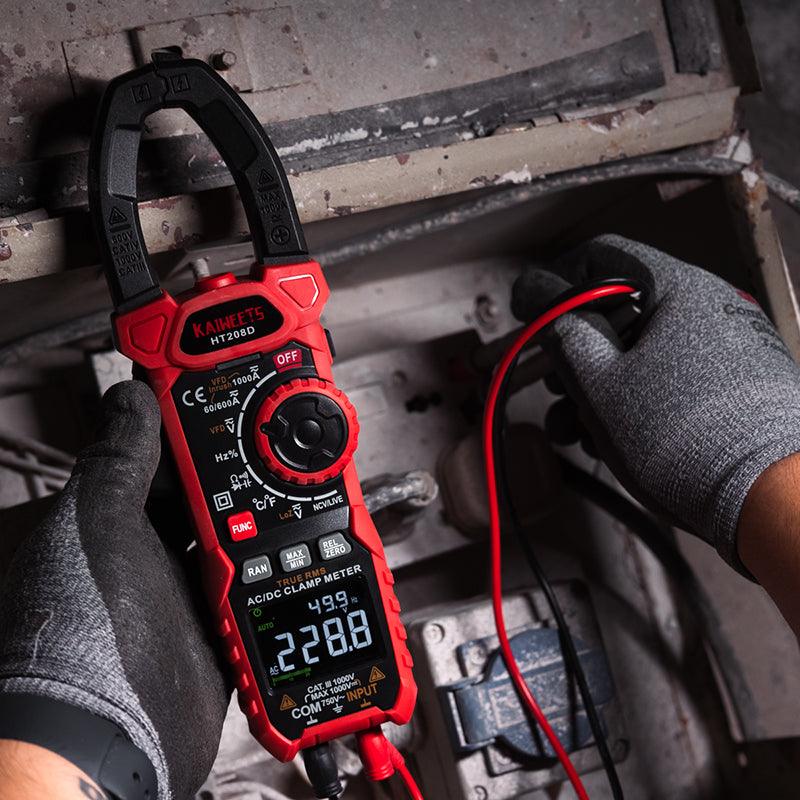
A digital clamp meter can measure voltage only when the meter supports voltage testing and you use its test leads. The clamp jaws normally measure current around a single conductor. They do not measure voltage simply by clamping around a wire.
This guide explains how to measure AC or DC voltage with a clamp meter, how to interpret the result, and which safety checks matter before you touch an energized circuit.
Can a clamp meter measure voltage?
Yes, many digital clamp meters can measure voltage, but they normally do so through test leads rather than through the clamp jaws.
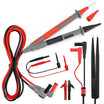
The jaws detect the magnetic field produced by current flowing through a conductor. For a voltage measurement, the meter compares the electrical potential between two points. That requires a red probe and a black probe connected to the appropriate input terminals.
A few specialized clamp meters offer contactless voltage-measurement technology. These models use a different procedure and may still require a ground reference. Follow the instructions supplied with that specific meter rather than applying the steps for a conventional clamp meter.
What is voltage?
Voltage is the electrical potential difference between two points in a circuit. It is measured in volts, shown by the symbol V.
A voltage reading only has meaning in relation to two test points. For example, a technician may measure between line and neutral at an outlet or between the positive and negative terminals of a battery.
Voltage is different from current. Voltage describes the electrical potential between two points, while current describes the flow of electrical charge through a conductor.
What should you check before measuring voltage?
Before measuring voltage, confirm that the meter, test leads, selected function, and safety rating are suitable for the circuit.
- Check the meter's functions: Make sure your clamp meter supports the type of voltage you need to measure. Look for V~ for AC voltage or V⎓ for DC voltage.
- Inspect the equipment: Do not use a meter with a cracked case, damaged input terminals, or exposed test-lead conductors.
- Check the voltage and CAT ratings: The meter and probes must be rated for the circuit and measurement environment. Never exceed the lowest rating among the meter, probes, and accessories.
- Confirm the lead connections: The black lead normally connects to COM. The red lead connects to the terminal marked V or VΩ.
- Read the product manual: Dial positions, buttons, input limits, and safety requirements vary between models.
Testing energized electrical equipment can cause shock, burns, or arc-flash injuries. Do not probe exposed mains wiring unless you are qualified to perform the work and have the required protective equipment. De-energize equipment before opening, disconnecting, or moving conductors.
How do you use a digital clamp meter to measure voltage?
To measure voltage with a conventional digital clamp meter, connect the test leads, select the correct voltage mode, and place the probes across the two test points.
Step 1: Connect the test leads
Insert the black test lead fully into the COM terminal. Insert the red lead into the terminal marked V or VΩ.
Do not place the red lead in a current-input terminal if your meter has one. Using the wrong terminal can create a hazardous fault when the probes are placed across a voltage source.
Step 2: Select AC or DC voltage
Turn the dial to the voltage function that matches the circuit.
- V~: Use this setting for AC voltage, including most household outlets and mains-powered equipment.
- V⎓: Use this setting for DC voltage, including batteries and many electronic circuits.
Understanding common multimeter symbols can help you choose the correct voltage setting and confirm what the display is showing.
If the meter has a combined AC/DC position, use the selection button to choose the correct mode. An auto-ranging meter will select the range automatically. On a manual-ranging meter, begin with a range above the expected voltage.
Step 3: Verify that the meter is working
Check the meter on a known voltage source before relying on it for troubleshooting or confirming that a circuit is de-energized.
When verifying the absence of voltage, qualified technicians commonly check a known live source before and after testing the target circuit. This confirms that the meter did not fail during the test.
Step 4: Place the probes across the test points
Hold the probes behind their finger guards and touch only the intended test points. Keep your fingers away from the exposed metal probe tips.
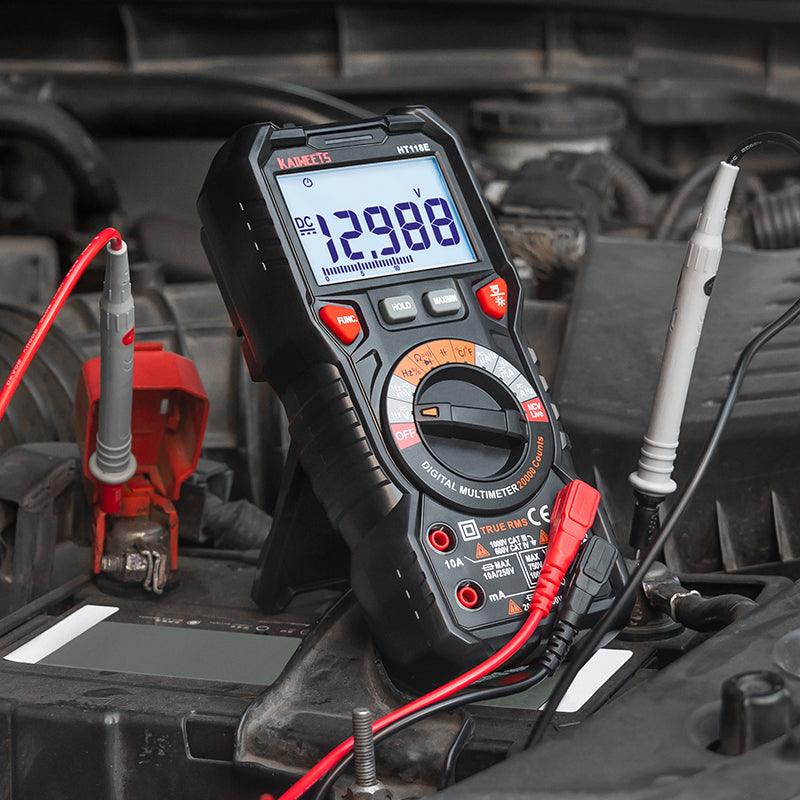
For DC measurements, place the red probe on the positive point and the black probe on the negative or reference point. Reversed probes usually produce a negative sign rather than damaging the meter, provided the voltage remains within its rating.
For AC measurements, place one probe at each point across which you want to measure voltage. Polarity does not affect a normal AC voltage reading.
Step 5: Read the display
Allow the reading to stabilize before recording it. Check the display for the AC or DC symbol and note the unit being shown.
A reading of 12.6 V⎓, for example, means the meter is detecting approximately 12.6 volts of DC potential between the probe tips. A minus sign in DC mode usually means the probe polarity is reversed.
Step 6: Remove the probes safely
Remove the red probe first, followed by the black probe, unless the equipment manufacturer's procedure specifies otherwise. Turn the meter off when the test is complete.
Do not switch the dial to resistance, continuity, or current mode while the probes remain connected to an energized voltage source.

How do you get a reliable voltage reading?
A reliable voltage reading depends on the correct mode, secure probe contact, and equipment that is suitable for the circuit.
- Use the correct function. Confirm that the display shows AC or DC before placing the probes on the circuit.
- Keep the probes steady. Poor or intermittent contact can make the displayed value fluctuate.
- Use clean test points. Paint, corrosion, and dirt may prevent the probe from making electrical contact.
- Check the battery indicator. A weak meter battery can cause an unreliable display on some models.
- Stay within the meter's limits. Never attempt to measure a voltage above the meter or probe rating.
- Compare the result with the expected value. A surprising reading should be investigated rather than accepted immediately.
The position of the conductor inside the clamp jaws affects current measurements, not ordinary voltage measurements made with test leads. For voltage, probe placement is what determines the result.
What do unusual voltage readings mean?
An unusual reading may indicate a circuit problem, an incorrect meter setting, poor probe contact, or voltage induced from nearby energized wiring.
The display shows zero volts
A zero reading can mean there is no potential difference between the two test points. It can also indicate that the probes are touching the same conductor or that one probe is not making contact.
Check the selected function, lead terminals, and test points before concluding that the circuit is de-energized.
The reading is lower than expected
A low reading may be caused by voltage drop, a weak source, or a poor connection. It can also occur when the wrong reference point is used.
Compare the result with the equipment specification and test at another known point when it is safe to do so.
The display shows a small unexpected AC voltage
A high-impedance meter can sometimes display capacitively coupled voltage from nearby energized conductors. This is often called ghost or stray voltage.
A clamp meter with a low-impedance voltage mode may help distinguish a weak induced voltage from an energized source. Use this function only as described in the meter manual.
The DC reading has a minus sign
A negative DC reading usually means the red and black probes are reversed. The number still represents the approximate voltage difference, but the polarity is opposite to the probe placement.
What mistakes should you avoid when measuring voltage?
The most serious mistakes involve incorrect input terminals, unsuitable safety ratings, or contact with energized metal parts.
- Clamping around a wire to measure voltage: Conventional clamp jaws measure current. Use the test leads for voltage.
- Using current mode across a voltage source: This can create a short circuit and may damage the meter.
- Selecting DC mode for an AC source: The display may show an incorrect or unstable result.
- Using damaged test leads: Split insulation or loose probe tips can expose the user to hazardous voltage.
- Exceeding the CAT or voltage rating: A meter's maximum displayed voltage does not automatically make it safe for every electrical environment.
- Relying only on non-contact voltage detection: NCV mode can indicate that voltage may be present, but it is not a precise voltage measurement or proof that a circuit is de-energized.
- Changing functions while connected: Disconnect the probes before selecting resistance, continuity, capacitance, or another incompatible mode.
Frequently asked questions
What is a clamp meter?
A clamp meter is an electrical test instrument designed primarily to measure current without disconnecting the conductor. Its hinged jaws detect the magnetic field around one conductor.
Many modern clamp meters also provide multimeter functions through test leads. Depending on the model, these may include voltage, resistance, or continuity testing.
Can a clamp meter measure voltage without test leads?
A conventional clamp meter cannot measure an exact voltage by simply closing its jaws around a wire. Standard voltage measurements require test leads connected across two points.
Some specialized meters can sense voltage through the jaw using proprietary field-sensing technology. This feature is not available on every clamp meter and should not be confused with basic non-contact voltage detection.
Does a circuit need to be energized to measure voltage?
A circuit normally needs to be energized when you are measuring its operating voltage. A de-energized circuit should read close to zero volts, although stored or induced voltage may still be present.
Do not energize exposed wiring merely to take a measurement unless the task is necessary and you are qualified to perform live electrical testing.
Do clamp meters work on DC?
Many clamp meters can measure DC voltage through their test leads. Check for the V⎓ symbol and confirm the permitted range in the product manual.
DC current measurement through the jaws is a separate capability. It requires a clamp meter designed with a DC-capable sensor. An AC-only clamp will not measure steady DC current correctly.
How accurate are digital clamp meters?
Accuracy depends on the model, selected function, measurement range, and conditions stated by the manufacturer. Use the accuracy specification in the meter manual rather than assuming that every clamp meter performs the same way.
For voltage measurements, proper probe contact and the correct AC or DC setting are essential. For current measurements, jaw closure and conductor position also affect the result.
What does the CAT rating on a clamp meter mean?
The measurement category indicates the type of electrical environment in which the meter is designed to withstand transient overvoltages. It is not simply a measure of the normal operating voltage.
Choose a meter and test leads rated for the location being tested. Never exceed the lowest category or voltage rating of any component in the measurement setup.

Conclusion
A digital clamp meter measures voltage through its test leads, while the jaws are primarily used to measure current. Connect the leads to COM and V, choose the correct AC or DC mode, and place the probes across the two test points.
Before testing, inspect the meter and confirm its ratings. Do not work on exposed energized equipment unless you have the training and protective equipment required for the task.
Related Articles:
How to use a clamp meter on a car battery?

Dejar un comentario
Todos los comentarios se revisan antes de su publicación.
Este sitio está protegido por hCaptcha y se aplican la Política de privacidad de hCaptcha y los Términos del servicio.