


We are going to show you how to test a stator with a multimeter. Checking the stator is an important part of maintaining your electric scooter or bike. If the stator is not working properly, it can result in poor performance or even a total failure of the system. Testing the stator is a relatively simple process and can be done in just a few steps. Keep reading to learn more!
What is a Stator?
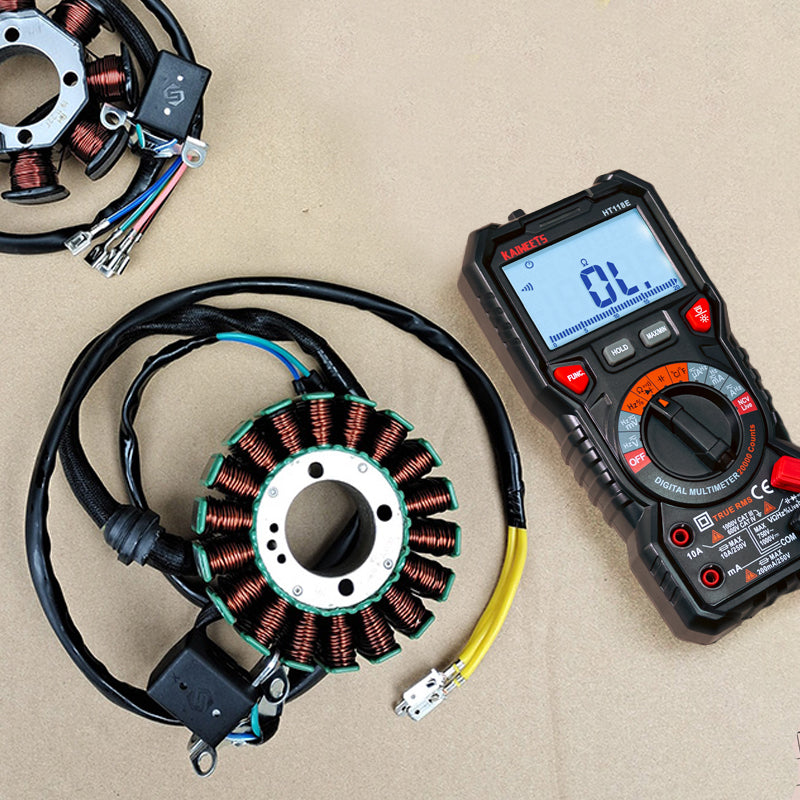
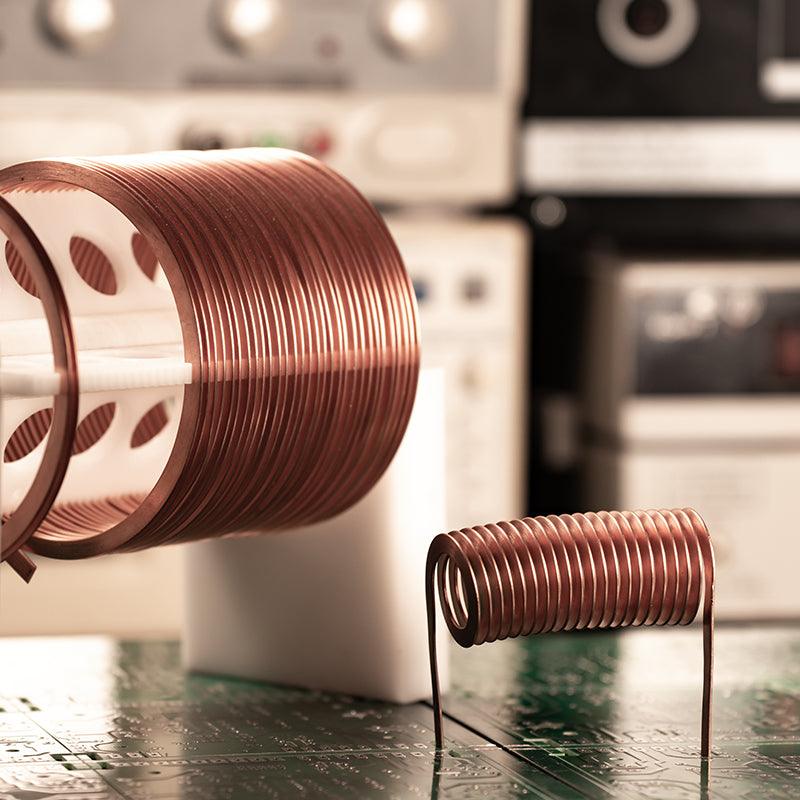
A stator is an electrical component found in a motorcycle engine. It consists of several coils of insulated wire wound around a metal core, and it acts as the generator for the motorcycle's electric system by producing electrical current when the engine is running. The stator also helps regulate voltage output from the alternator to ensure that too much electricity does not enter the system and cause damage.
A stator can be damaged if there is a malfunction in any part of the electrical system, so regular maintenance should include testing and inspecting it to make sure it works properly. Regular maintenance will also reduce wear on other parts of the motorcycle, resulting in improved performance and longer life for your bike. If your stator does fail, replacement with a new one is recommended rather than attempting to repair it.
How to test a stator with a multimeter?
Testing a stator with a multimeter is a relatively straightforward process that allows you to determine the condition of your stator. A stator is typically used in an electric motor and helps regulate its current flow. Knowing how to properly test this component can help you diagnose and repair any issues quickly and efficiently. Here’s what you need to do:
- Set your multimeter’s selector dial to the ohms setting, which looks like a sideways U with two dots on either side.
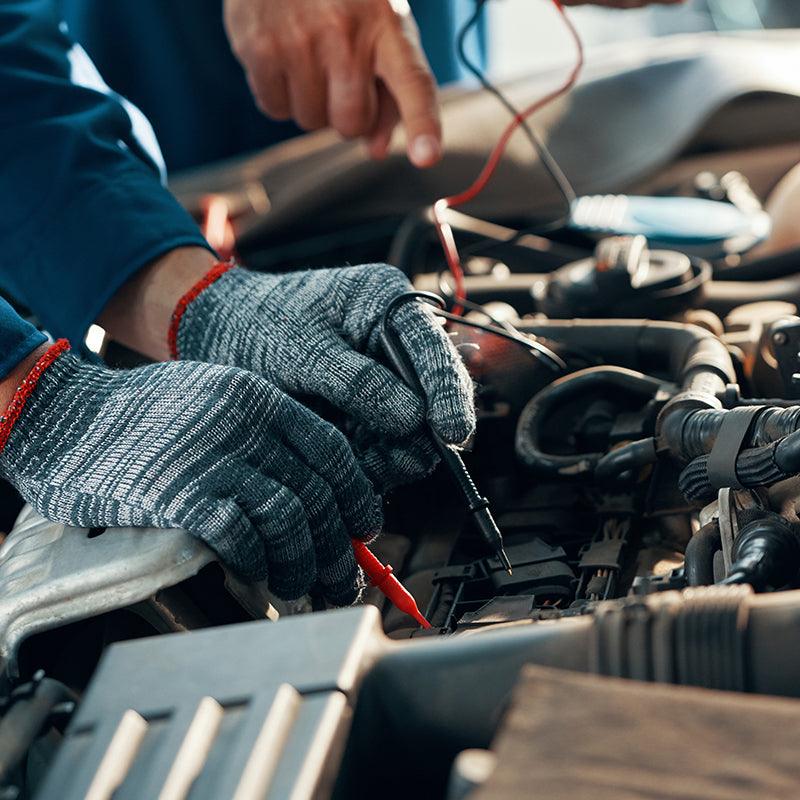
- Disconnect any power sources connected to the stator to avoid electrocution or damage to your multimeter.
- Locate the three terminals on the stator, labeled A, B, and C respectively. These terminals indicate where you should be testing the stator.
- Using your multimeter’s probes, test each terminal in turn by placing one probe on one of the terminals and the other on any of the other two terminals. Make sure you record all three readings.
- Compare your readings to those listed in your user manual for a properly functioning stator for reference. If your readings are significantly different, then it could indicate that there is an issue with the stator and it needs to be replaced or repaired.
- To test further, disconnect the power from the stator again and place both probes onto either end of one of them (A-B, B-C, or C-A). This time, your multimeter should read an infinity symbol or 0 ohms. If it reads anything else, it could indicate that the stator is malfunctioning and needs to be replaced or repaired.
And there you have it! You’ve successfully tested a stator with a multimeter and can now diagnose any issues quickly and easily. Remember, always refer to your user manual for exact readings associated with properly functioning components.

5 Common problems that can occur with stators:
- Insulation Failure:
The insulation around the stator winding can be damaged for a variety of reasons, such as vibration, overheating, excessive current, or moisture. This can cause shorts and high resistance in the circuit, leading to permanent damage.
- Corrosion:
Moisture inside the stator casing may corrode the windings and insulation resulting in a decrease in efficiency or total failure of the stator.
- Faulty Connections:
Poor connections between coils or between wires connected to components may result in insufficient power supply or irregular voltage output, causing equipment malfunctions and making it difficult to diagnose problems with the stator’s operation.
- Overheating:
Excessive current running through the stator will cause it to overheat and eventually fail. This can be caused by several factors, such as improper voltage regulation or inadequate cooling systems.
- Winding Shorts:
If there is a short in the winding, usually due to faulty insulation or components, the current may exceed its limits and result in permanent damage to the stator windings. It is important to identify this problem quickly and take corrective action before further damage occurs.
If you suspect any of these problems with your stator, contact an experienced technician for assistance as soon as possible to minimize potential damages and costs. Proper maintenance of your stator will help ensure that it operates safely and reliably during its service life.

Frequently Asked Questions:
What should I do if my stator fails the multimeter test?
If your stator fails a multimeter test, there is likely an issue with the wiring or components of the stator itself. In this case, you will need to have the stator professionally inspected and replaced if necessary. It’s important to note that even if a stator passes a multimeter test initially, it could still fail over time due to wear and tear. Regularly testing your stators with a multimeter can help identify any potential issues before they become more serious.
What type of multimeter should I use for testing stators?
The best type of multimeter for testing stators is a Kaiweets Digital Multimeter with AC setting capabilities. This will provide more accurate and reliable readings than a digital model would because it measures voltage over time instead of just providing instantaneous values. Additionally, the Kaiweets Digital Multimeter is designed to work with stators specifically, making it the ideal choice for this task.
What Other Checks Should I Perform When Testing My Stator?
Before you begin testing your stator, it’s important to check for any signs of physical damage. This can include checking for broken wires or any other visible signs of stress or wear and tear. If a component has been damaged, it may be necessary to replace the entire stator. It’s also important to make sure that all connections are secure before beginning testing, as loose connections can cause inaccurate readings and lead to false conclusions about the condition of your stator.
Conclusion:
Testing a stator with a multimeter is an important step in maintaining the health of your engine and other motor components. By following these steps, you can accurately measure the output of your stator to make sure it is functioning properly. Always be sure to calibrate your multimeter regularly and keep safety in mind when performing any test or repair on a vehicle. With proper diagnosis and maintenance, you can extend the life of your motor components and prevent costly repairs in the future.

Dejar un comentario
Todos los comentarios se revisan antes de su publicación.
Este sitio está protegido por hCaptcha y se aplican la Política de privacidad de hCaptcha y los Términos del servicio.