


A faulty light switch can cause flickering lights, intermittent operation, or a light that will not turn on at all. The good news is that you can often check whether a switch is working properly with a multimeter. Learning how to use a multimeter for simple household diagnostics makes this process safe, straightforward, and highly accurate.
In this guide, we’ll explain how to test different types of light switches step by step and highlight the safety precautions you should take before working on any electrical circuit.
Types of Light Switches
·Single-pole switch:
A single-pole switch is the most basic type of light switch; it has two terminals and a single on/off toggle. It controls one circuit, allowing you to turn lights or other electrical devices on and off with the flick of a switch.
·Three-way switch:
A three-way switch is used when one light needs to be controlled from two different locations, such as at the top and bottom of a staircase. Unlike a single-pole switch, a three-way switch usually does not have ON and OFF markings. It has one common terminal and two traveler terminals.
·Four-way Switch:
A four-way switch is used together with two three-way switches to control one light from three or more locations. Because four-way switch wiring is more complex, testing it usually requires careful identification of the terminals and wiring path.
Understanding which type of switch you have is essential before testing, as the testing procedure differs for each type. Check the back or side of your switch — most are labeled Single Pole or 3-Way.
Tools You Need to Test a Light Switch
The following tools and accessories are required for switch testing:
- Multimeter
- Non-contact voltage tester
- Screwdrivers
- Wire strippers/cutterss (only if you need to replace or reconnect wires)
- Electrical tape (optional)
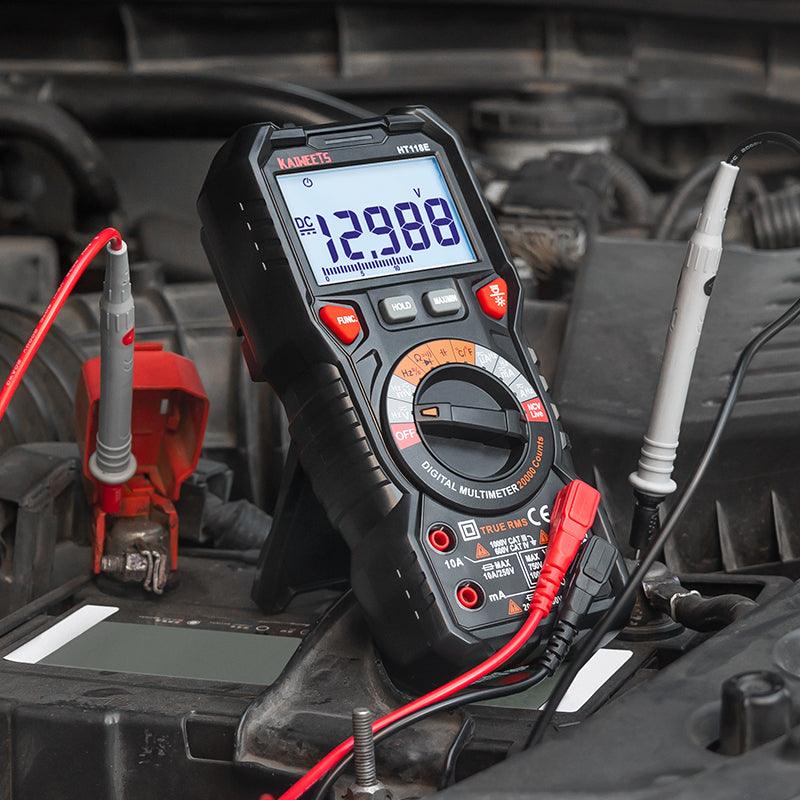
A digital multimeter can be used to measure voltage, resistance, and continuity when checking a light switch. A screwdriver is needed to remove the cover plate and the switch from the electrical box. A voltage tester helps confirm that the circuit is truly de-energized before you touch any wires. Wire strippers are only necessary if you need to reconnect or replace the switch.

How to Test a Light Switch With a Multimeter
Testing a light switch with a multimeter is a simple process. Here is what you need to do:
- If you are testing the switch with the power off, set your multimeter to continuity mode or resistance (ohms). Continuity mode is often the easiest option because it quickly tells you whether the switch is making or breaking the circuit.
- Turn off power to the circuit at the breaker panel. Before touching the switch or any wires, use a voltage tester or multimeter to confirm that the circuit is no longer live.
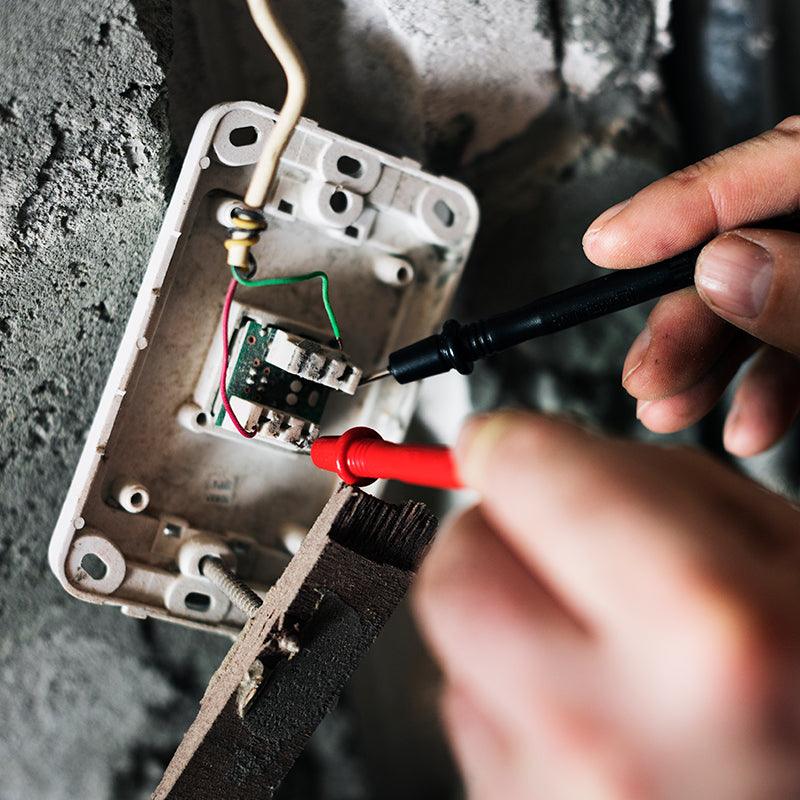
- Remove the switch cover plate, unscrew the switch, and carefully pull it out of the electrical box so you can access the terminal screws. Make sure the wires remain separated and do not touch each other.
- With the switch in the OFF position, touch one probe to each terminal. A properly functioning switch should read OL (open loop / infinite resistance). Then flip the switch ON — the reading should drop to near 0 Ω.
- If the readings do not change as expected when you toggle the switch, the switch may be faulty. For example, if it shows no continuity in both positions or continuity in both positions on a single-pole switch, it is likely defective and should be replaced with a properly rated replacement switch.
- After replacing the switch, reconnect the wires securely, mount the switch back into the box, reinstall the cover plate, and then restore power at the breaker.
If you notice burn marks, a burning smell, or discoloration on the switch terminals, do not proceed with testing. These are common signs that the switch may need to be replaced.
These basic tests can help you determine whether the switch itself is faulty or whether the problem may be elsewhere in the circuit. Always shut off power before checking continuity or resistance, and contact a qualified electrician if you are unsure about the wiring or the test results.
Test a Single-Pole Light Switch With a Multimeter
The first step is to turn off the power supply. It is important to make sure all electricity feeding the circuit has been turned off, otherwise, this can be a safety hazard. Using a voltage tester, check that there is no power being supplied before proceeding.
Next, remove the light switch cover plate and unscrew the two screws at either end of the switch. Carefully lift out the old switch from its wall-mounted housing.
Set your multimeter to resistance (Ω) or continuity mode. Place one probe on each screw terminal.
- Switch OFF → should read OL (infinite resistance)
- Switch ON → should read near 0 Ω
If the readings are reversed, or if the switch reads 0 Ω in both positions, the switch has failed and must be replaced.
Keep the power off while performing continuity or resistance tests. Toggle the switch between ON and OFF and watch how the reading changes. A good single-pole switch should alternate between continuity and no continuity. If it stays the same in both positions, the switch is likely faulty.
Replace the switch only with a correctly rated single-pole switch that matches the circuit requirements.
It is strongly recommended to always exercise caution when dealing with electricity. This article has been written as an informative guide only and should not be taken as professional advice or instruction. If you are unsure of any steps, it is best to contact a qualified electrician for assistance. With these simple steps and safety precautions, you should have no problem testing your single-pole light switch with a multimeter.

How to Test a Three-Way Light Switch With a Multimeter
A three-way switch allows one light fixture to be controlled from two different locations. To test whether it is working properly, you need to check how the common terminal connects to the traveler terminals in each switch position.
To begin your test, turn off the power to the circuit at the breaker box by flipping the switch off. Once you have done this, locate the three-way switch and remove its cover plate.
A three-way switch has one COM (common) terminal — usually brass-colored or labeled — and two traveler terminals.
Step 1: With power OFF, set multimeter to continuity or resistance mode.
Step 2: Place one probe on COM, the other on Traveler 1. Flip the toggle — you should get continuity in one position.
Step 3: Move the probe to Traveler 2. Flip the toggle again — continuity should now appear on this side.
If you get continuity on both travelers simultaneously, or on neither, the switch is faulty.
How to Test a Four-way Light Switch
A four-way switch has four terminals (two pairs of travelers). With power OFF and multimeter on continuity mode:
- Toggle position 1: Terminals 1-3 and 2-4 should show continuity (straight-through).
- Toggle position 2: Terminals 1-4 and 2-3 should show continuity (crossed).
If any combination fails to show the expected continuity pattern, the switch is faulty.
Frequently Asked Questions:
What should I do if I find that my light switch needs repair or replacement?
If you find that your light switch needs repairs or replacement, then it is important to contact a qualified electrician. An electrician will be able to assess the issue and safely perform any necessary repairs or replacements. Additionally, they can also provide you with important advice on how best to maintain your light switch in the future. It is always recommended to seek professional advice whenever dealing with electrical components as this will ensure that your safety is not compromised and that any work performed meets all relevant standards.
Do I need to test my light switch in both the on and off positions?
Yes, it is important to test your light switch in both the on and off positions as this will give you an accurate reading of its performance. To do this, turn the power back on after your first resistance measurement and toggle the switch into both positions before taking another reading. This will help you identify if there are any faults within your light switch's circuitry.
What type of multimeter should I use?
A: Most standard digital multimeters are suitable for testing a light switch, but some additional features such as higher voltage ranges or auto-ranging capabilities may be required depending on the specific application. Make sure to research the exact specifications before doing any tests.
Conclusion:
Testing a light switch is a manageable DIY task when done correctly. The key points to remember: always cut power at the breaker first, use continuity or resistance mode (not voltage) for switch testing, and verify your readings in both switch positions. If you're unsure at any point, or if the switch shows signs of burning or arcing, contact a licensed electrician.
Leave a comment
All comments are moderated before being published.
This site is protected by hCaptcha and the hCaptcha Privacy Policy and Terms of Service apply.